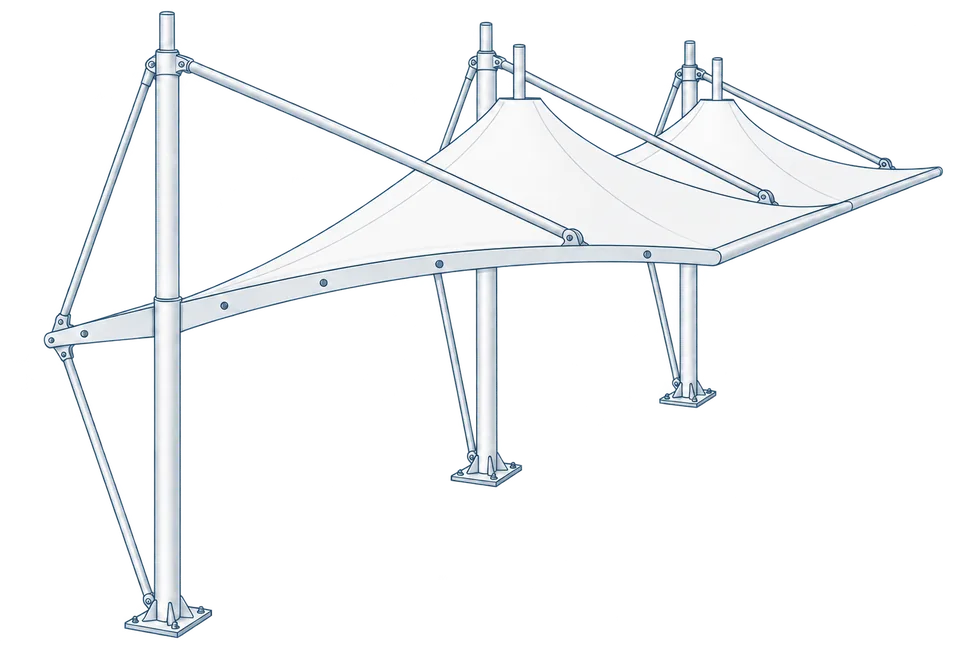
 Membrane carportsClassic membrane shelters→
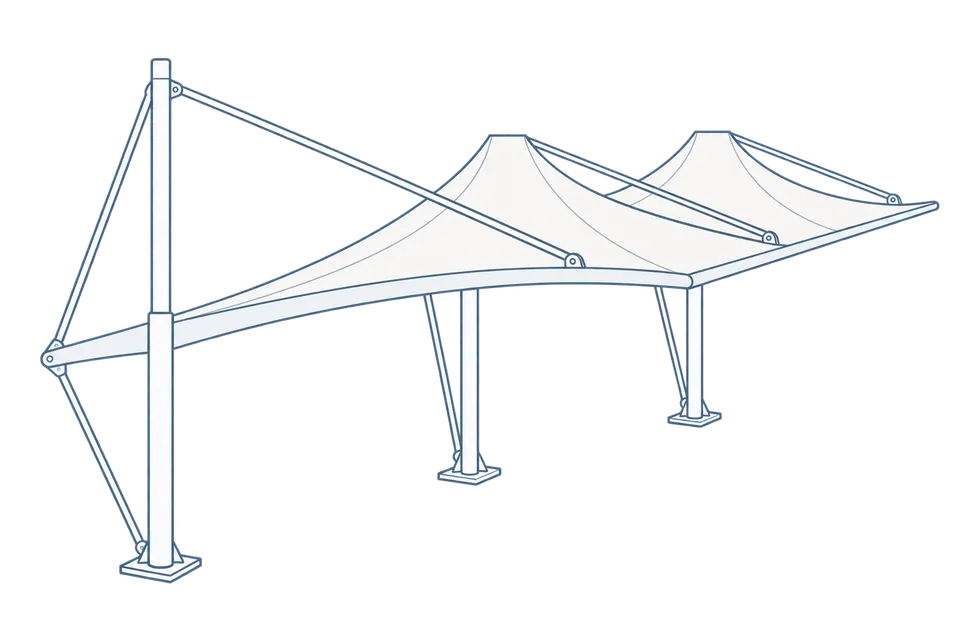 Solar carportsParking meets green energy→
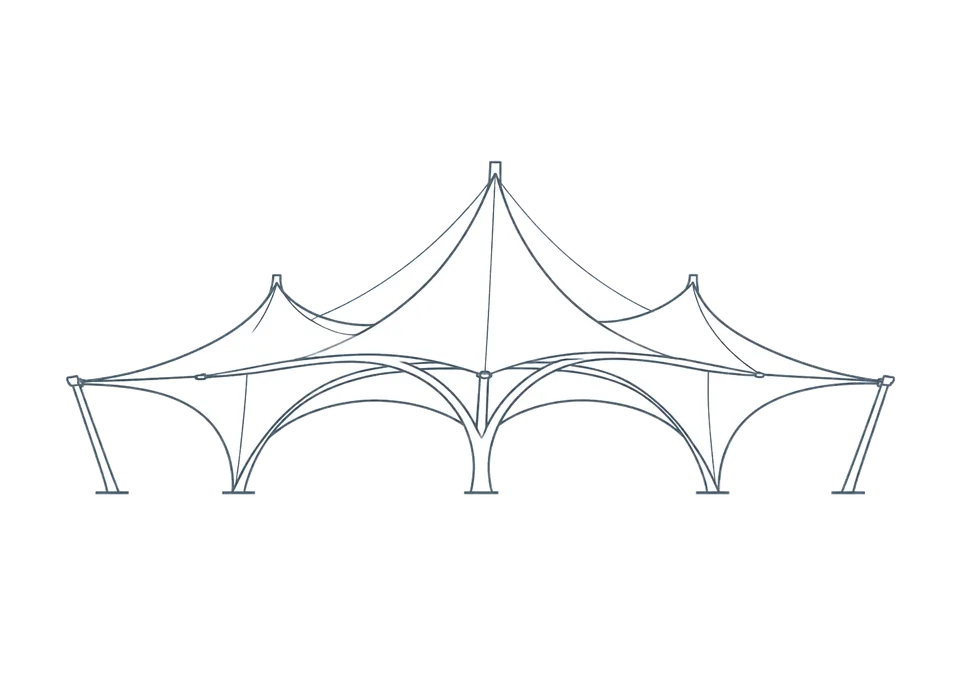 Landscape canopiesParks and leisure spaces→
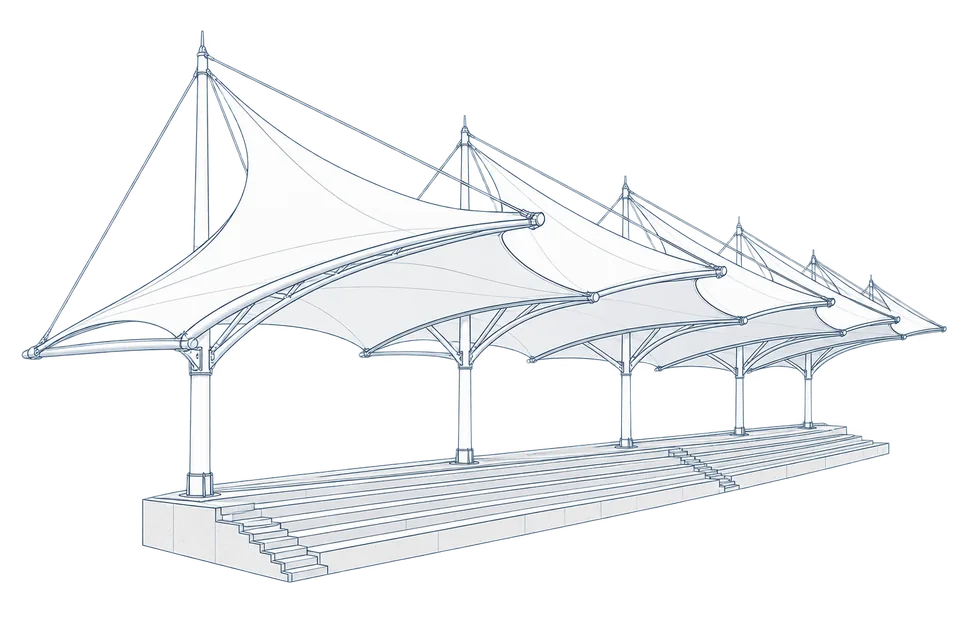 Grandstand canopiesSports venue shelters→
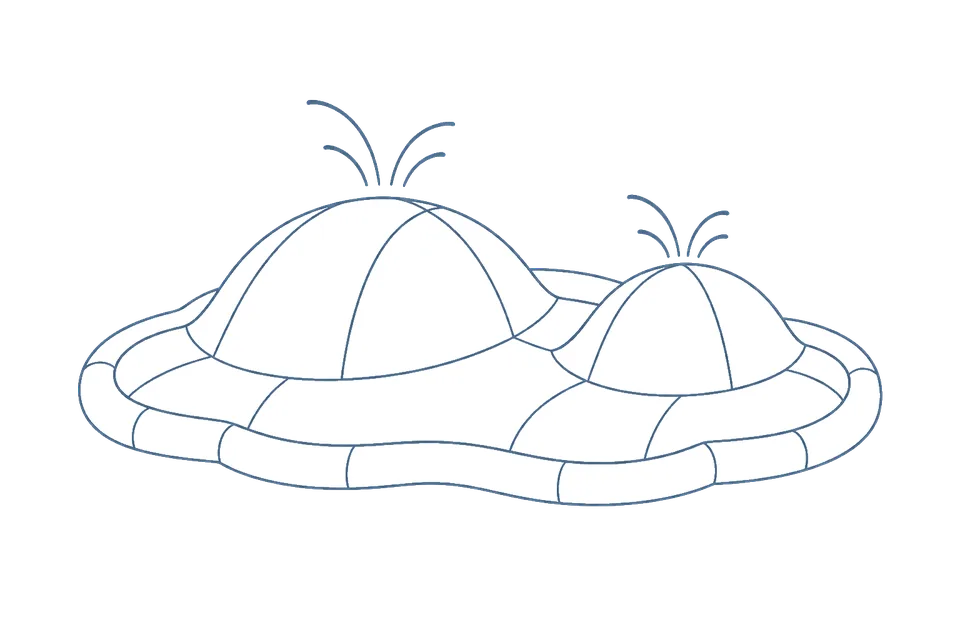 Inflatable play cloudsFamily play areas→
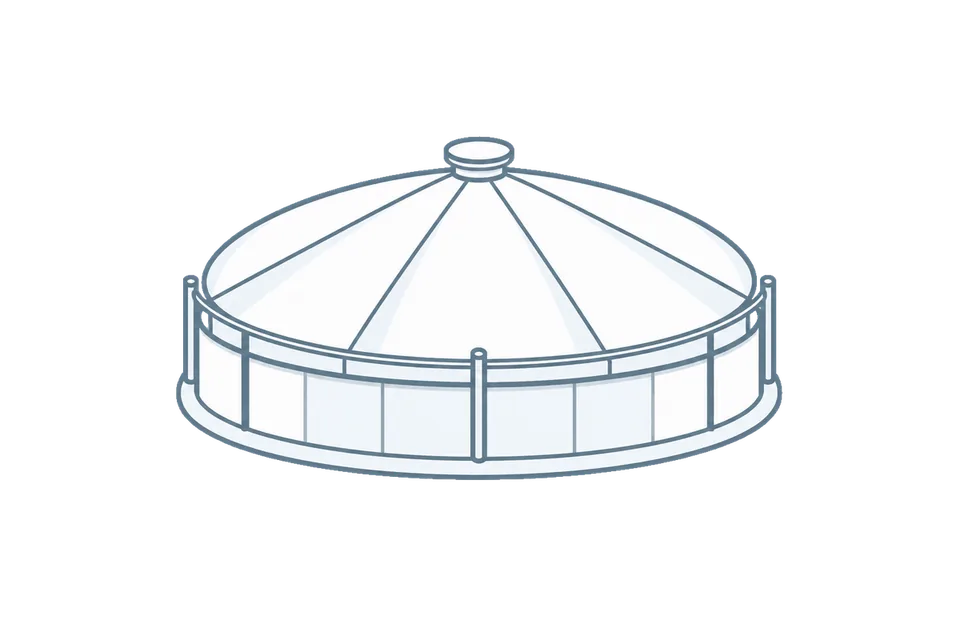 Wastewater coversEnvironmental infrastructure→
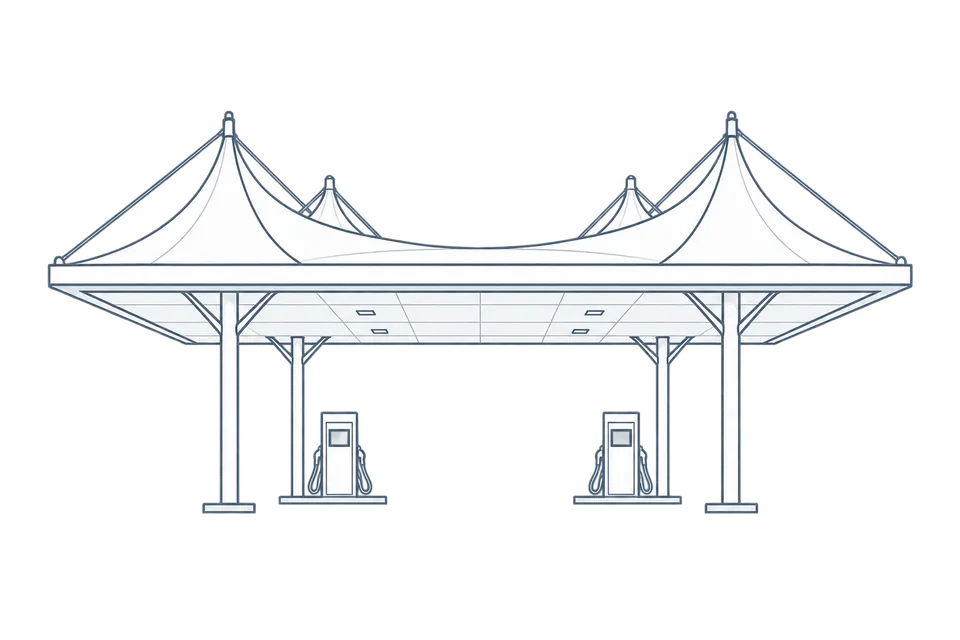 Fuel station canopiesStation shelters→
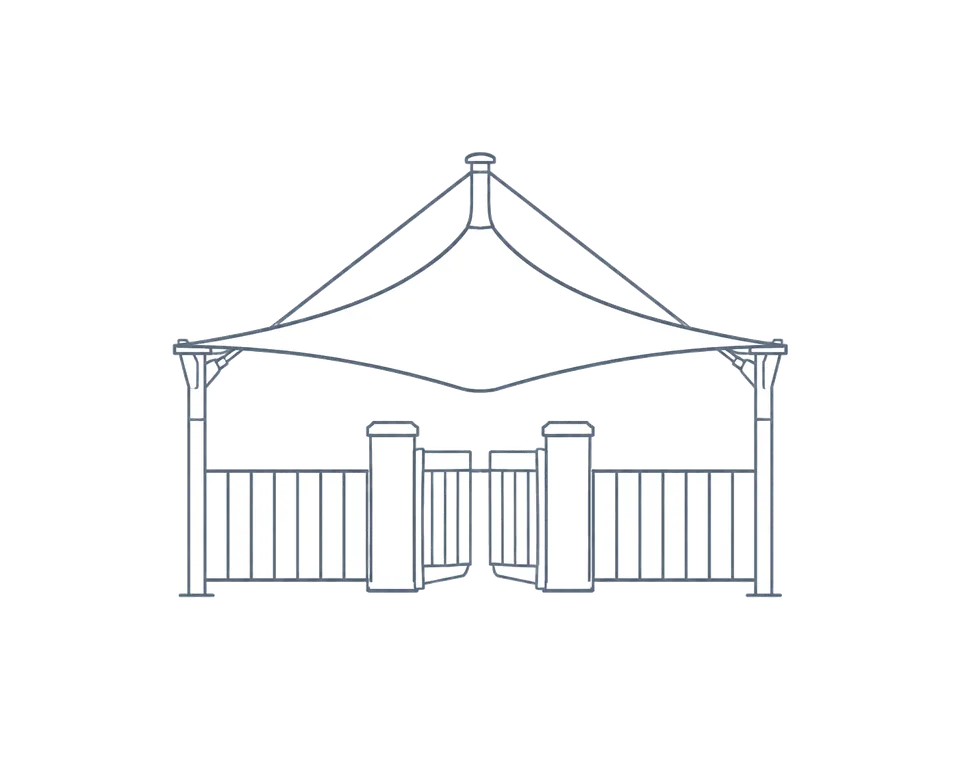 Entrance canopiesWalkways and entrances→
1. Lay out the vehicles
Mark bays, doors, turning, walking routes and equipment before choosing a roof outline.

CARPORT GUIDE
Membrane shelters
Choose the shelter by vehicle and function first; then compare 15 membrane forms by columns, coverage and drainage.
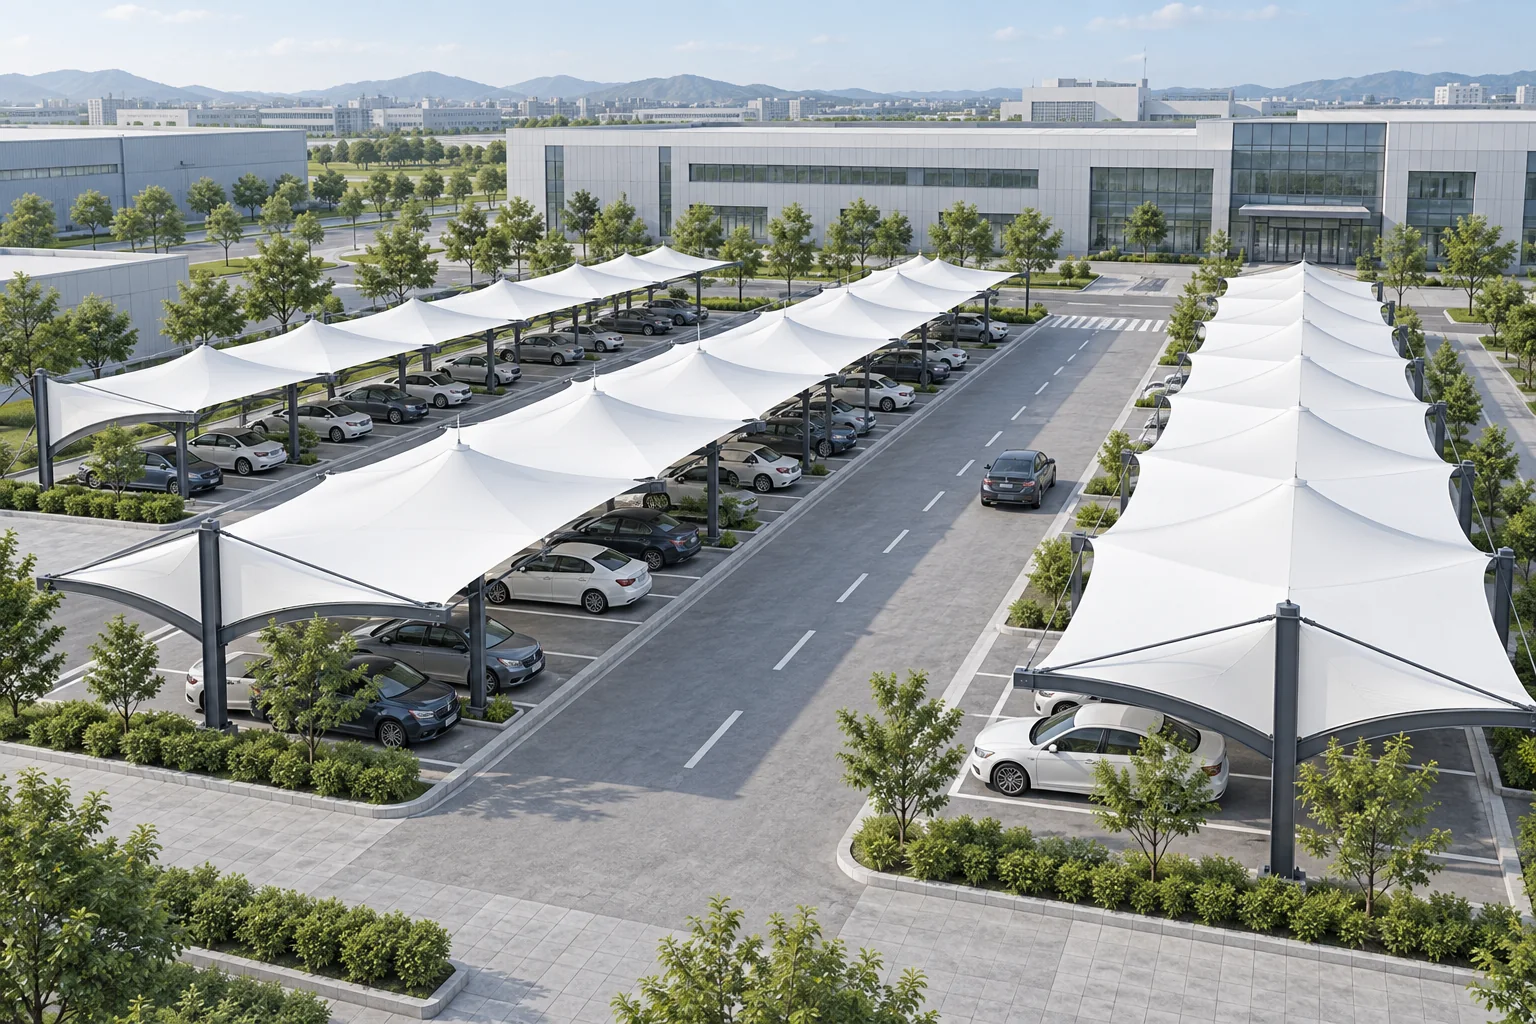
START HERE
Car shelters and two-wheeler shelters have different circulation needs. A membrane scheme focuses on supports and fabric; a solar carport also involves modules, electrical work and maintenance. They can be combined with dedicated design. This guide focuses on membrane applications and common silhouettes, with a separate entry for solar. Each form page explains its geometry, site fit, key checks and nearest alternatives.
PARKING & CHARGING
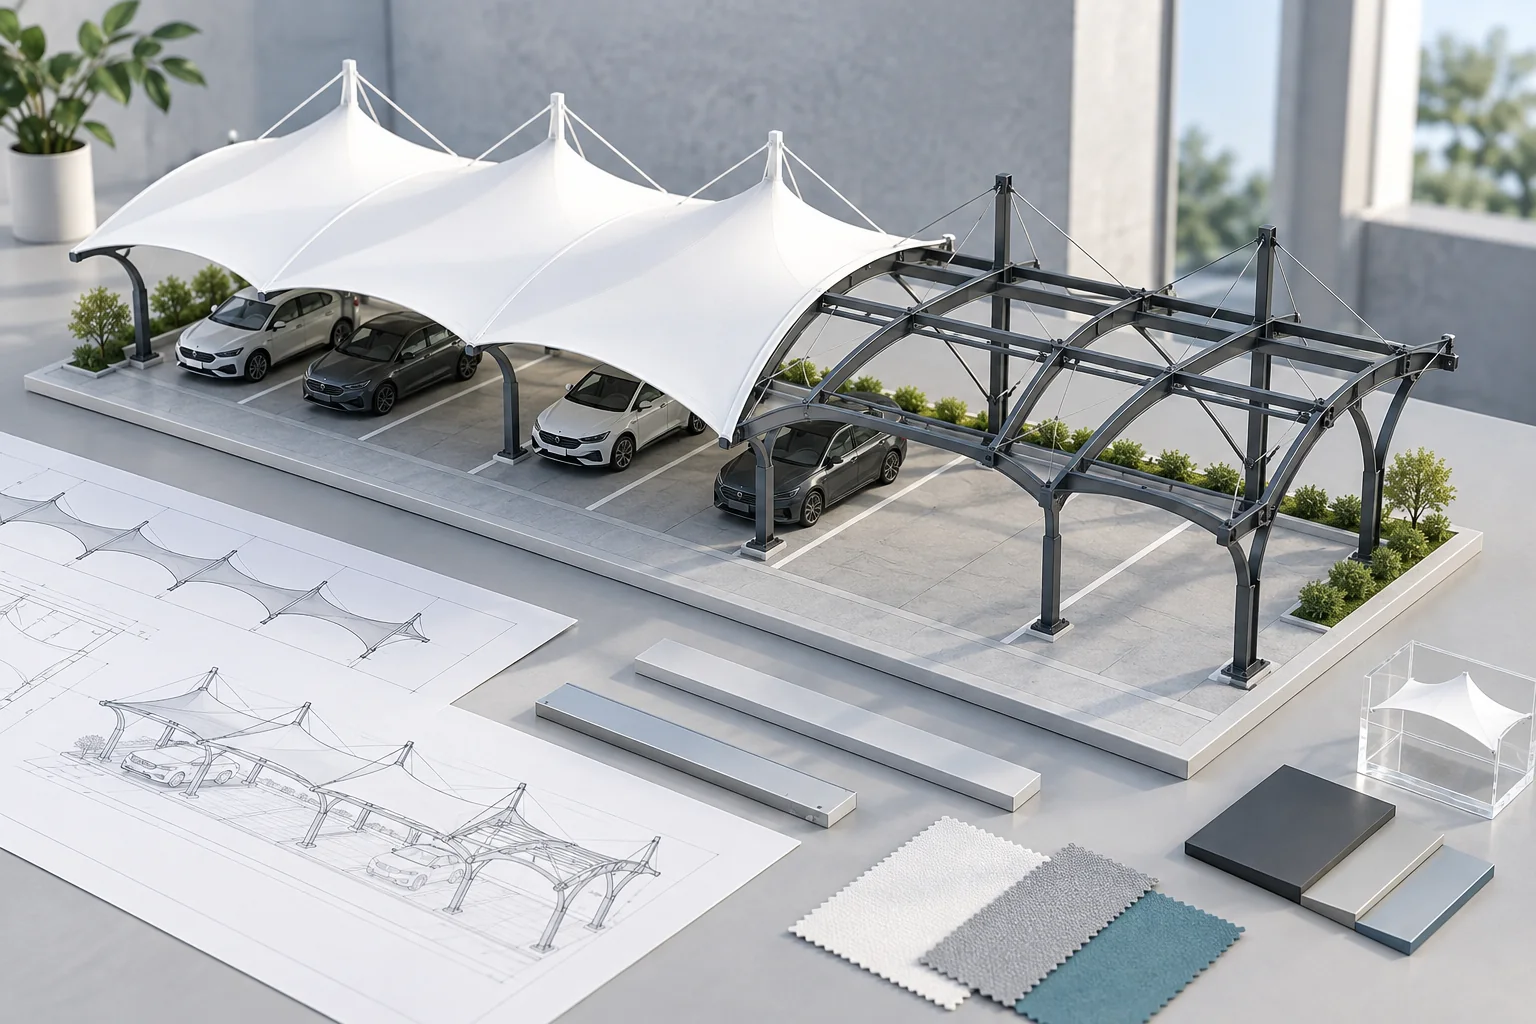
Start with parking movement, column positions and drainage, then compare forms. Membrane shelters can serve cars, two-wheelers and charging areas.
Plan canopy coverage and columns around car bays, door opening and vehicle turning.
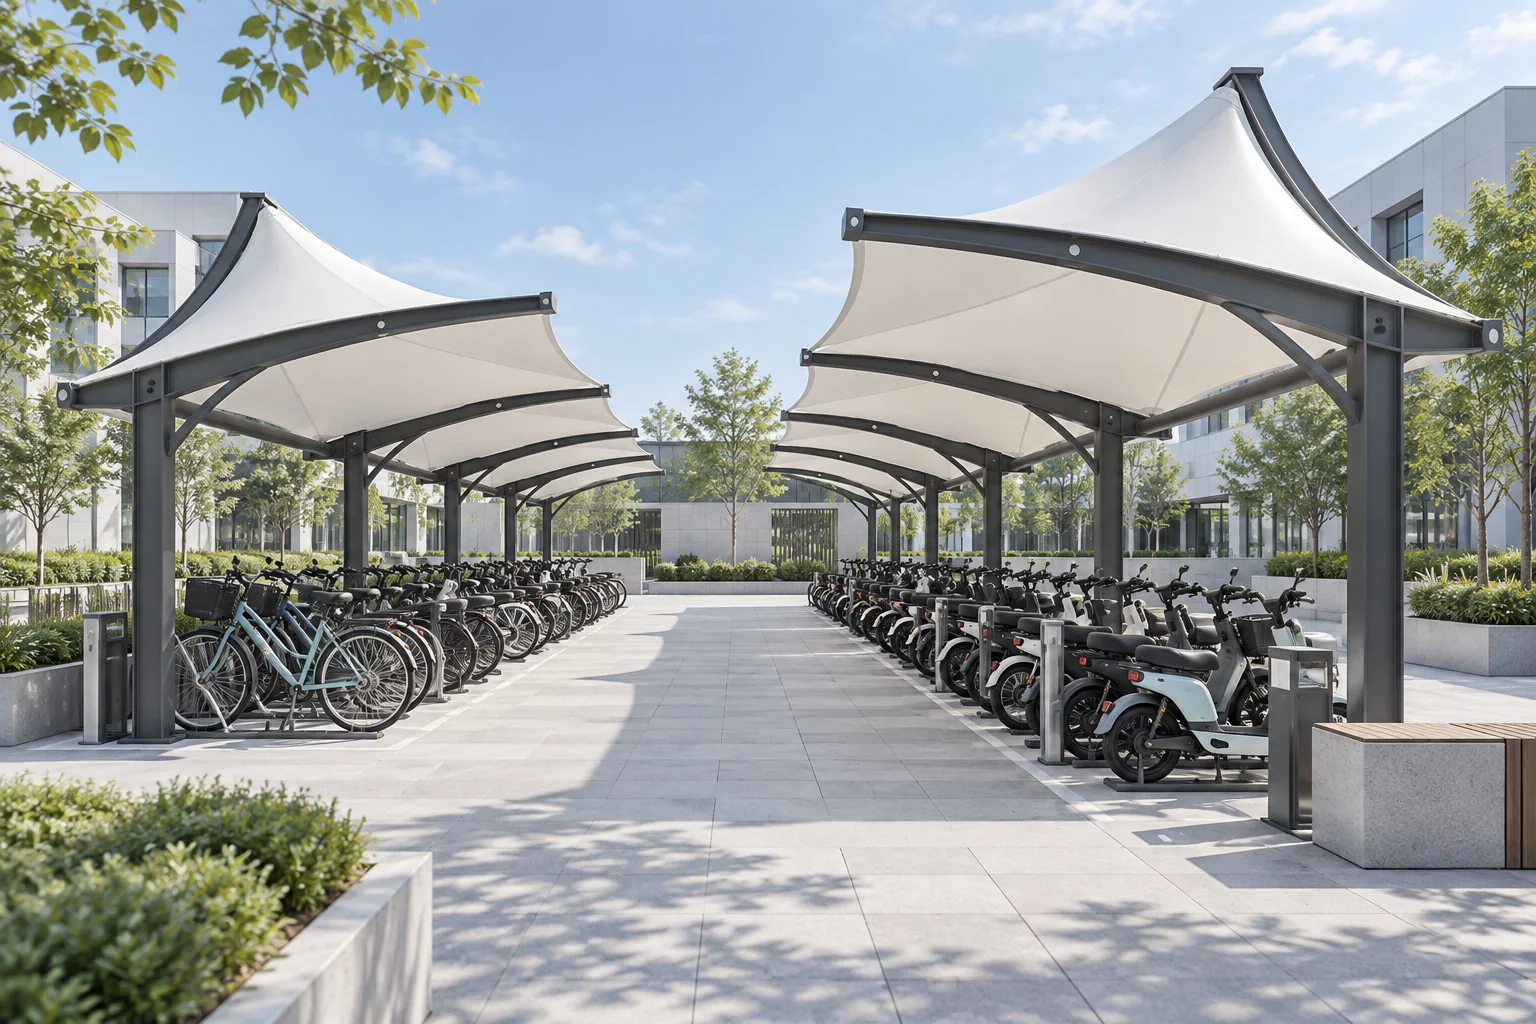
Set the two-wheeler parking and walking layout before selecting the canopy silhouette.
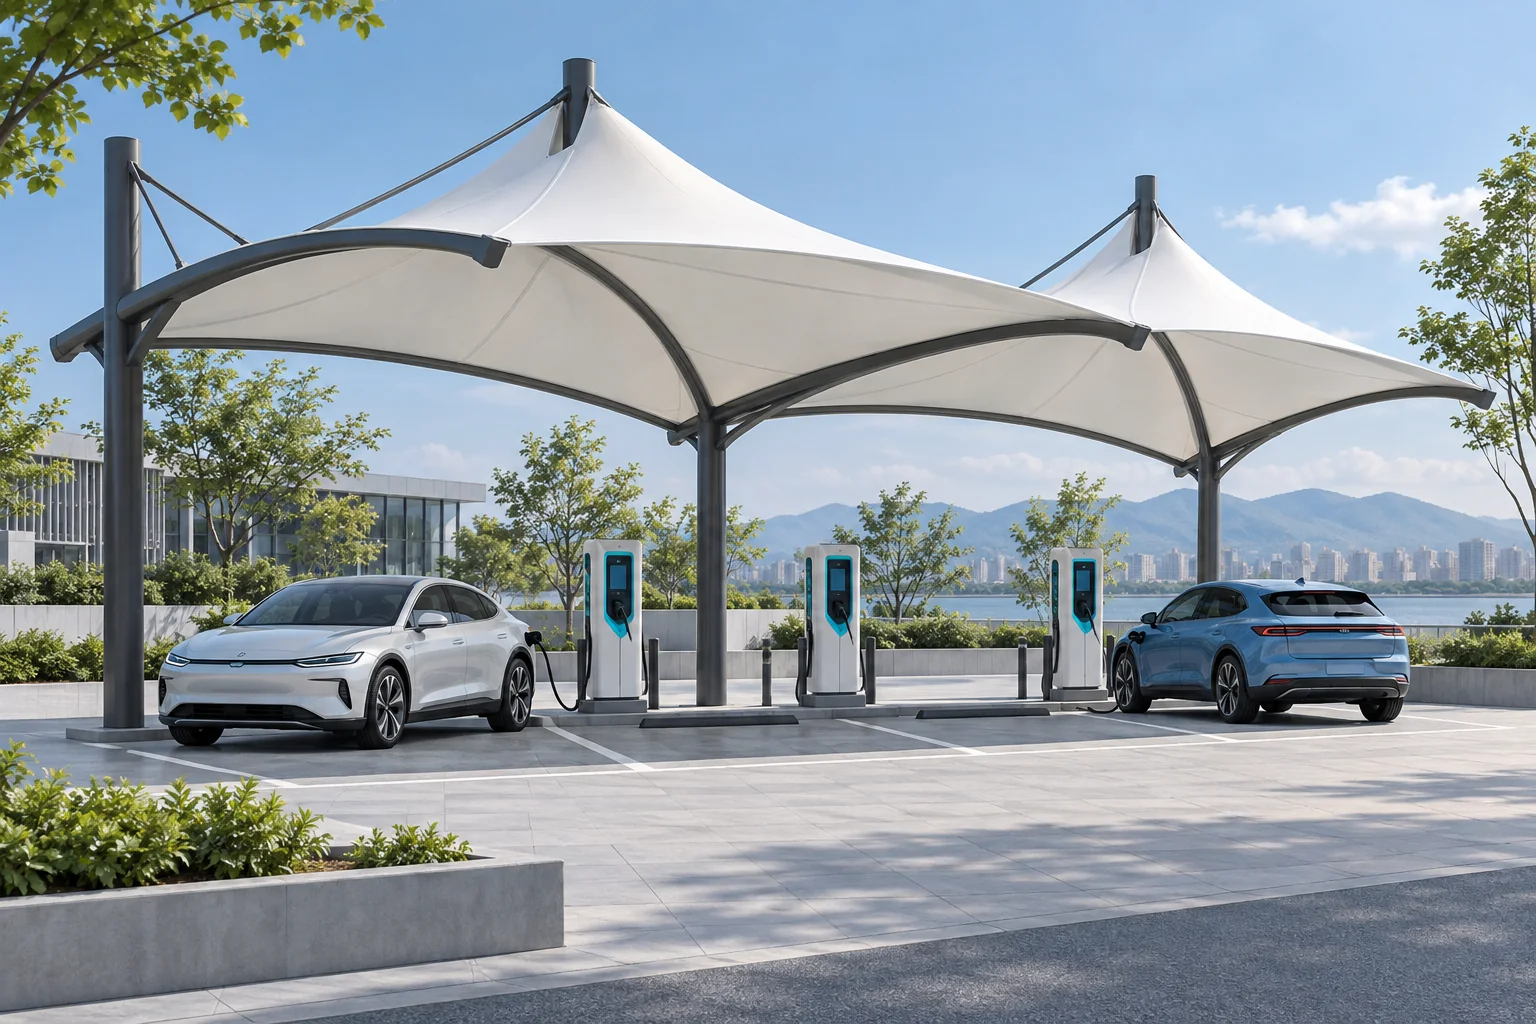
Charging-pile, charging-station and electric-car station canopies share one planning intent: coordinate the shelter with charging equipment.
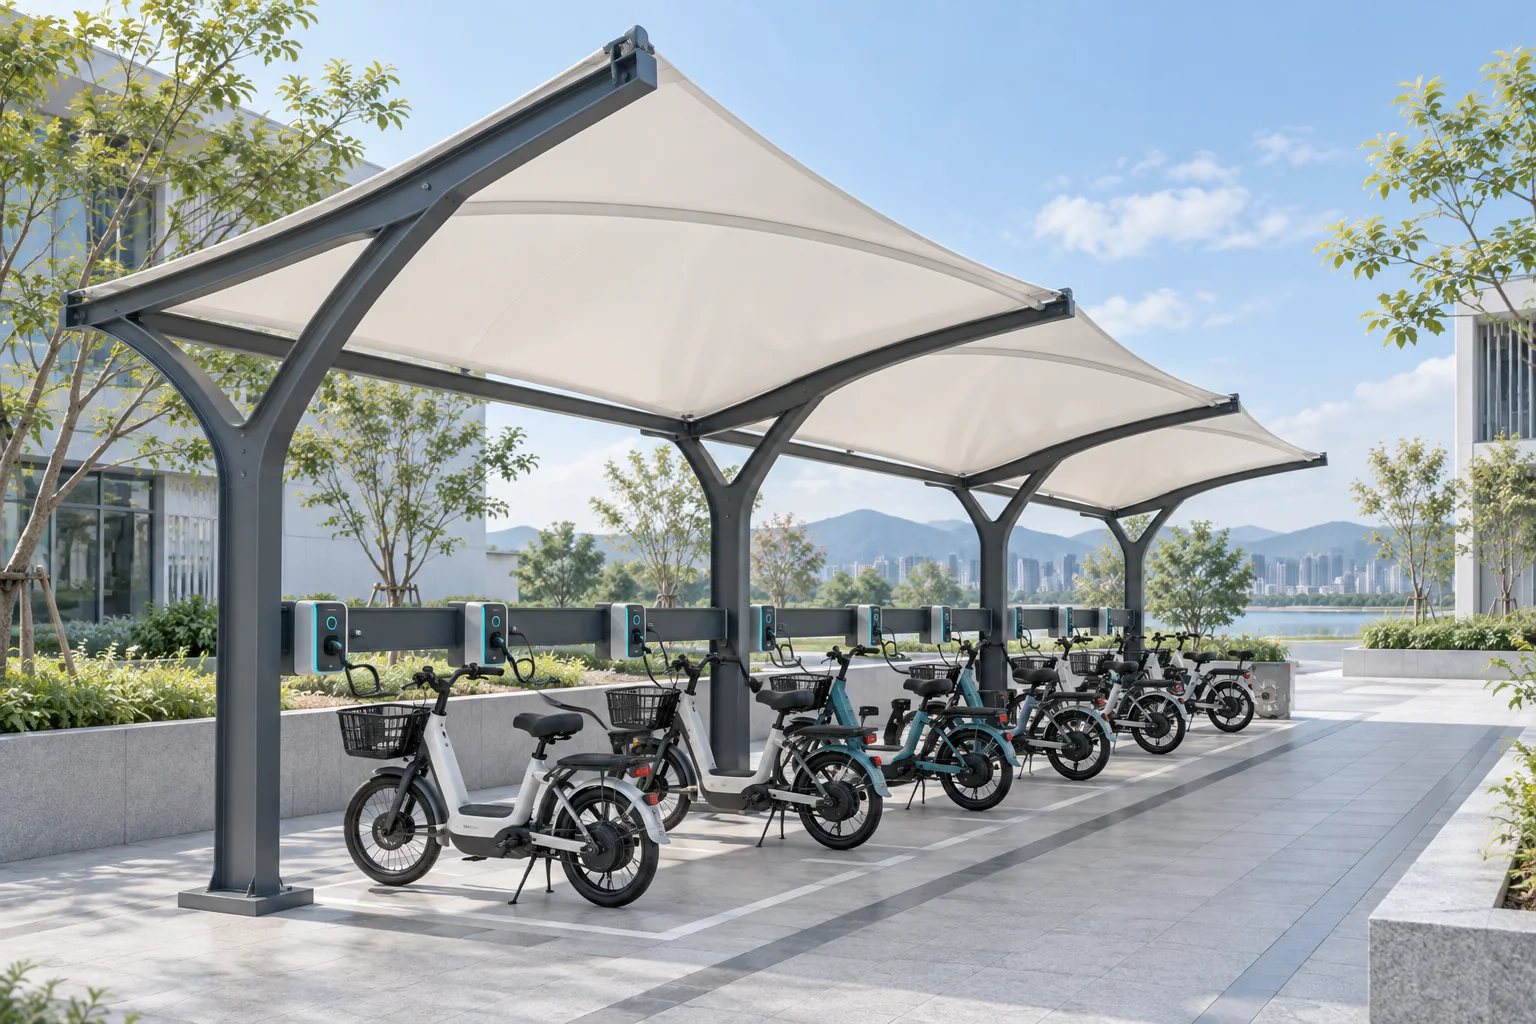
Add defined equipment, power, management and service areas to a two-wheeler shelter layout.
Solar carports need a separate roof, structural and electrical assessment. Explore the solar carport solution →
MEMBRANE FORMS
Single rows and edge supports
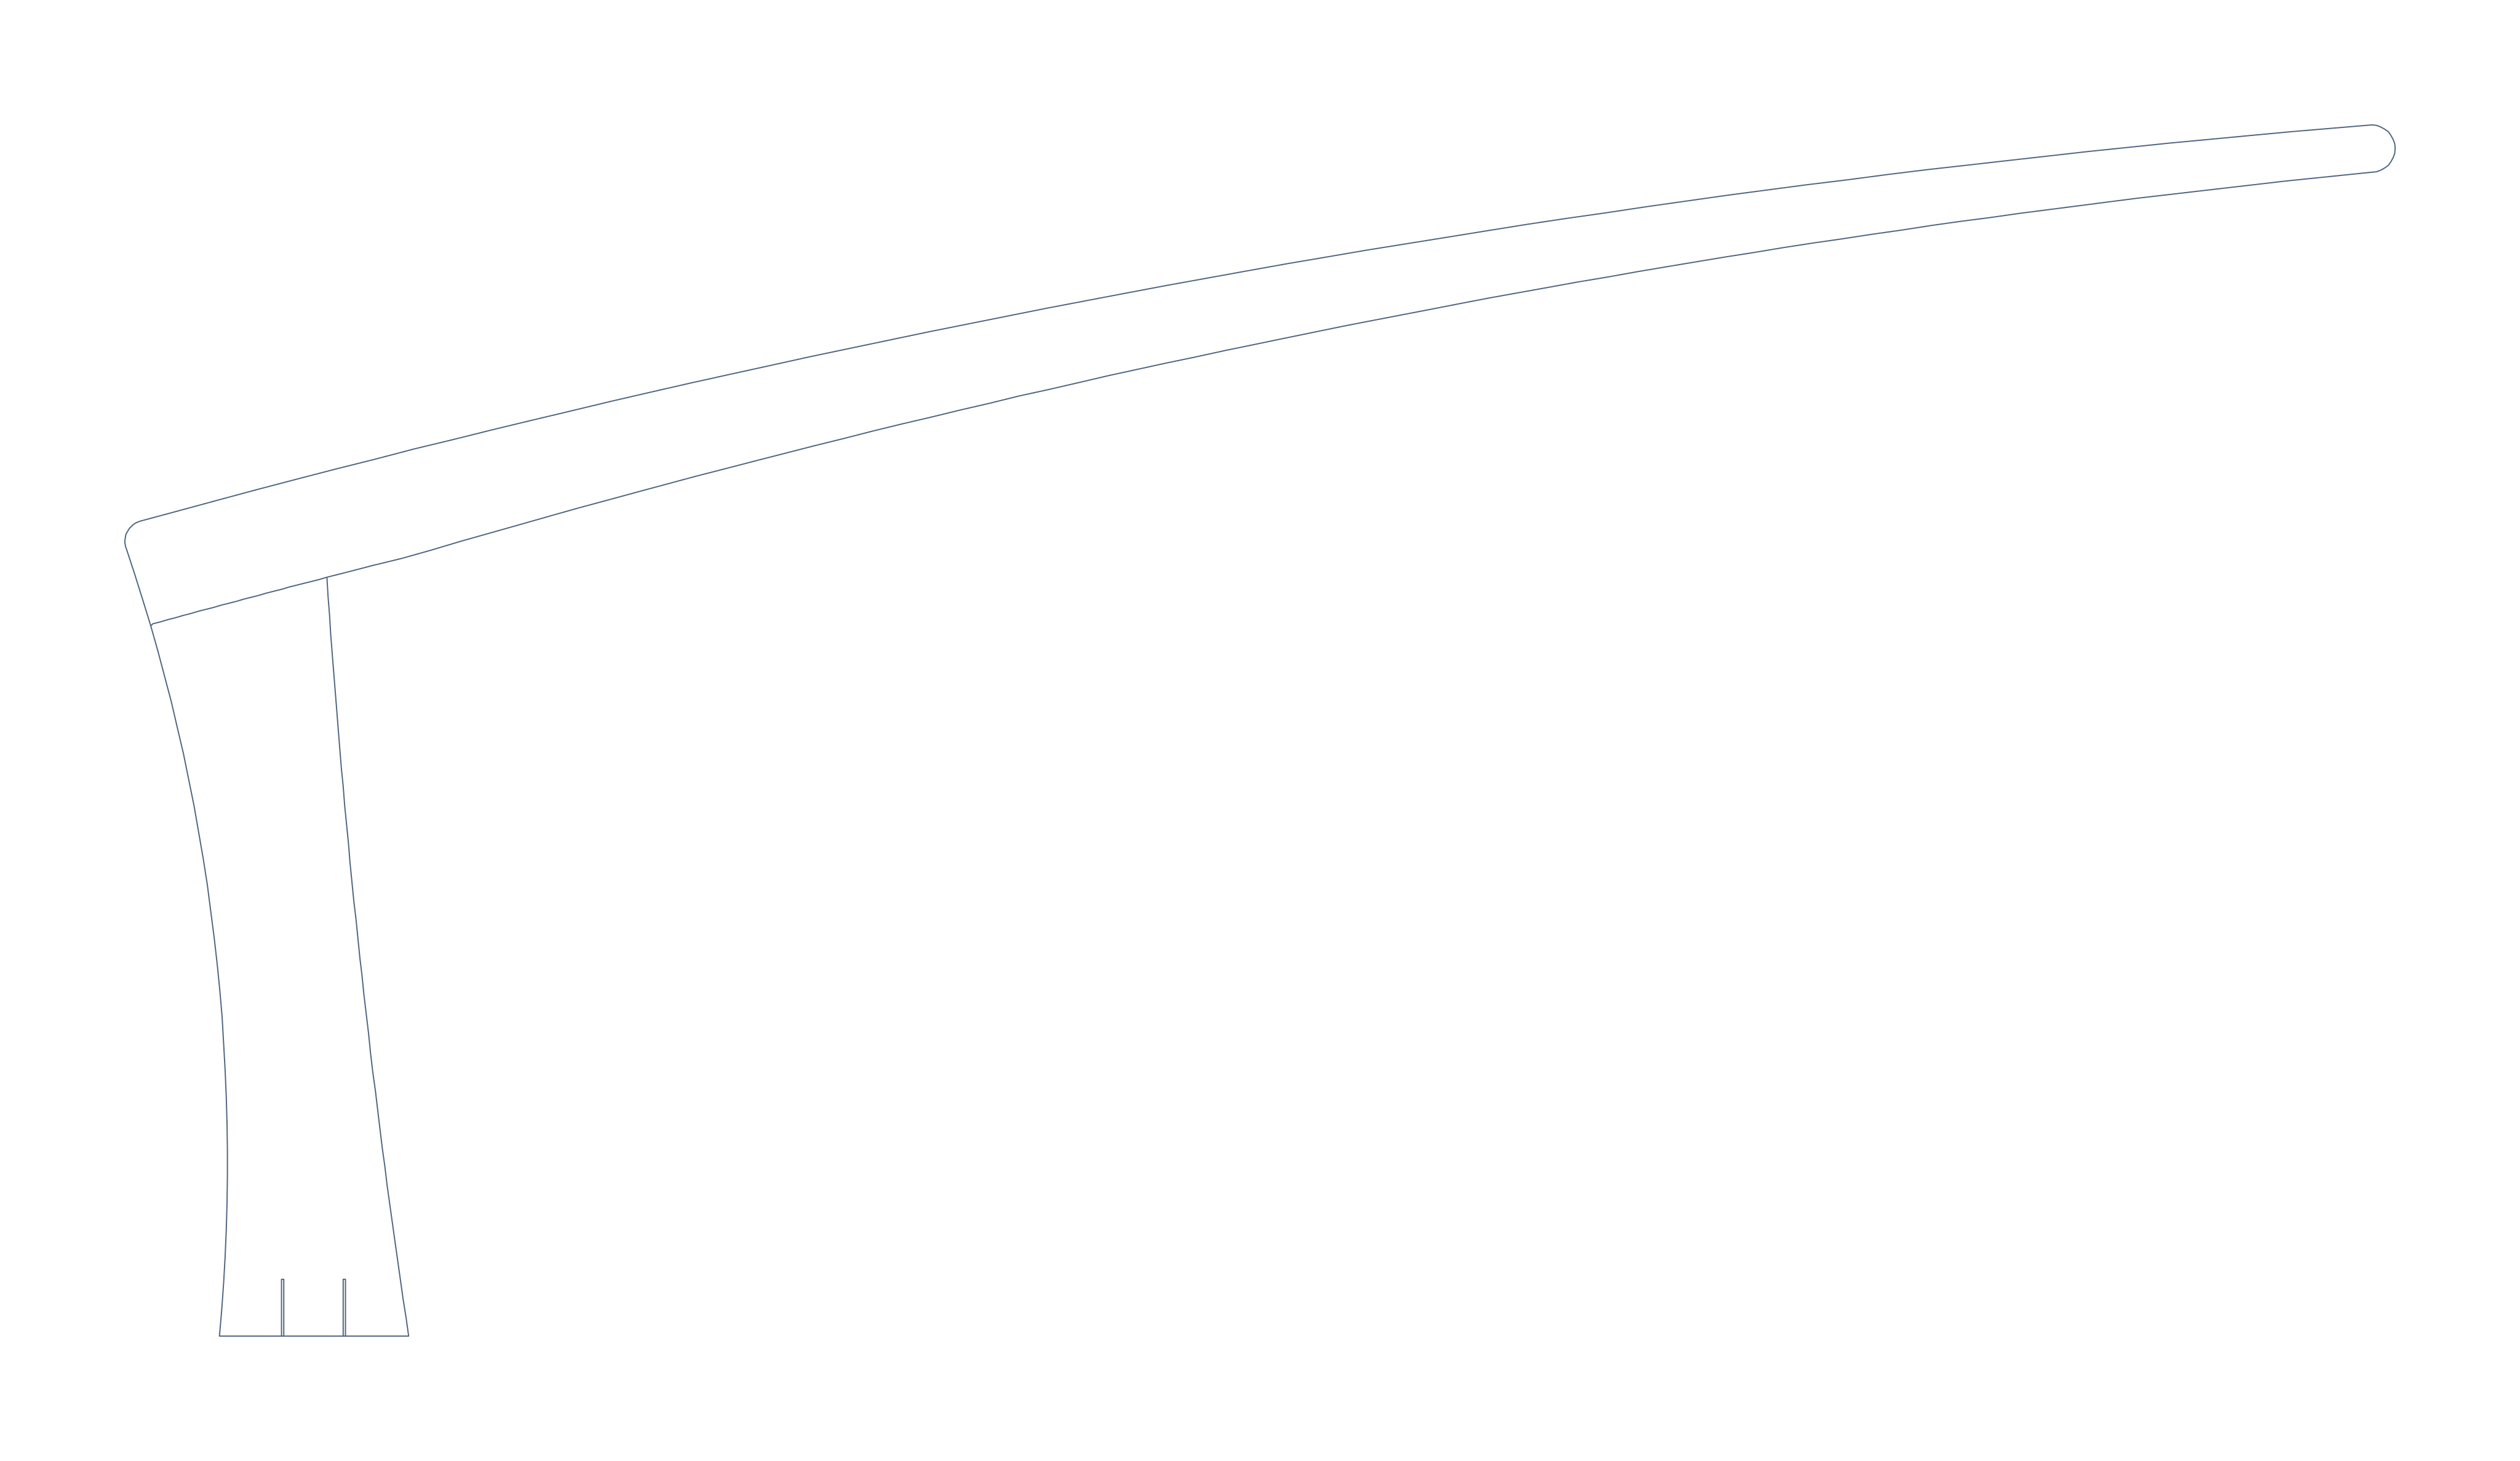
A support line on one side projects over the bays, keeping the parking edge relatively open.
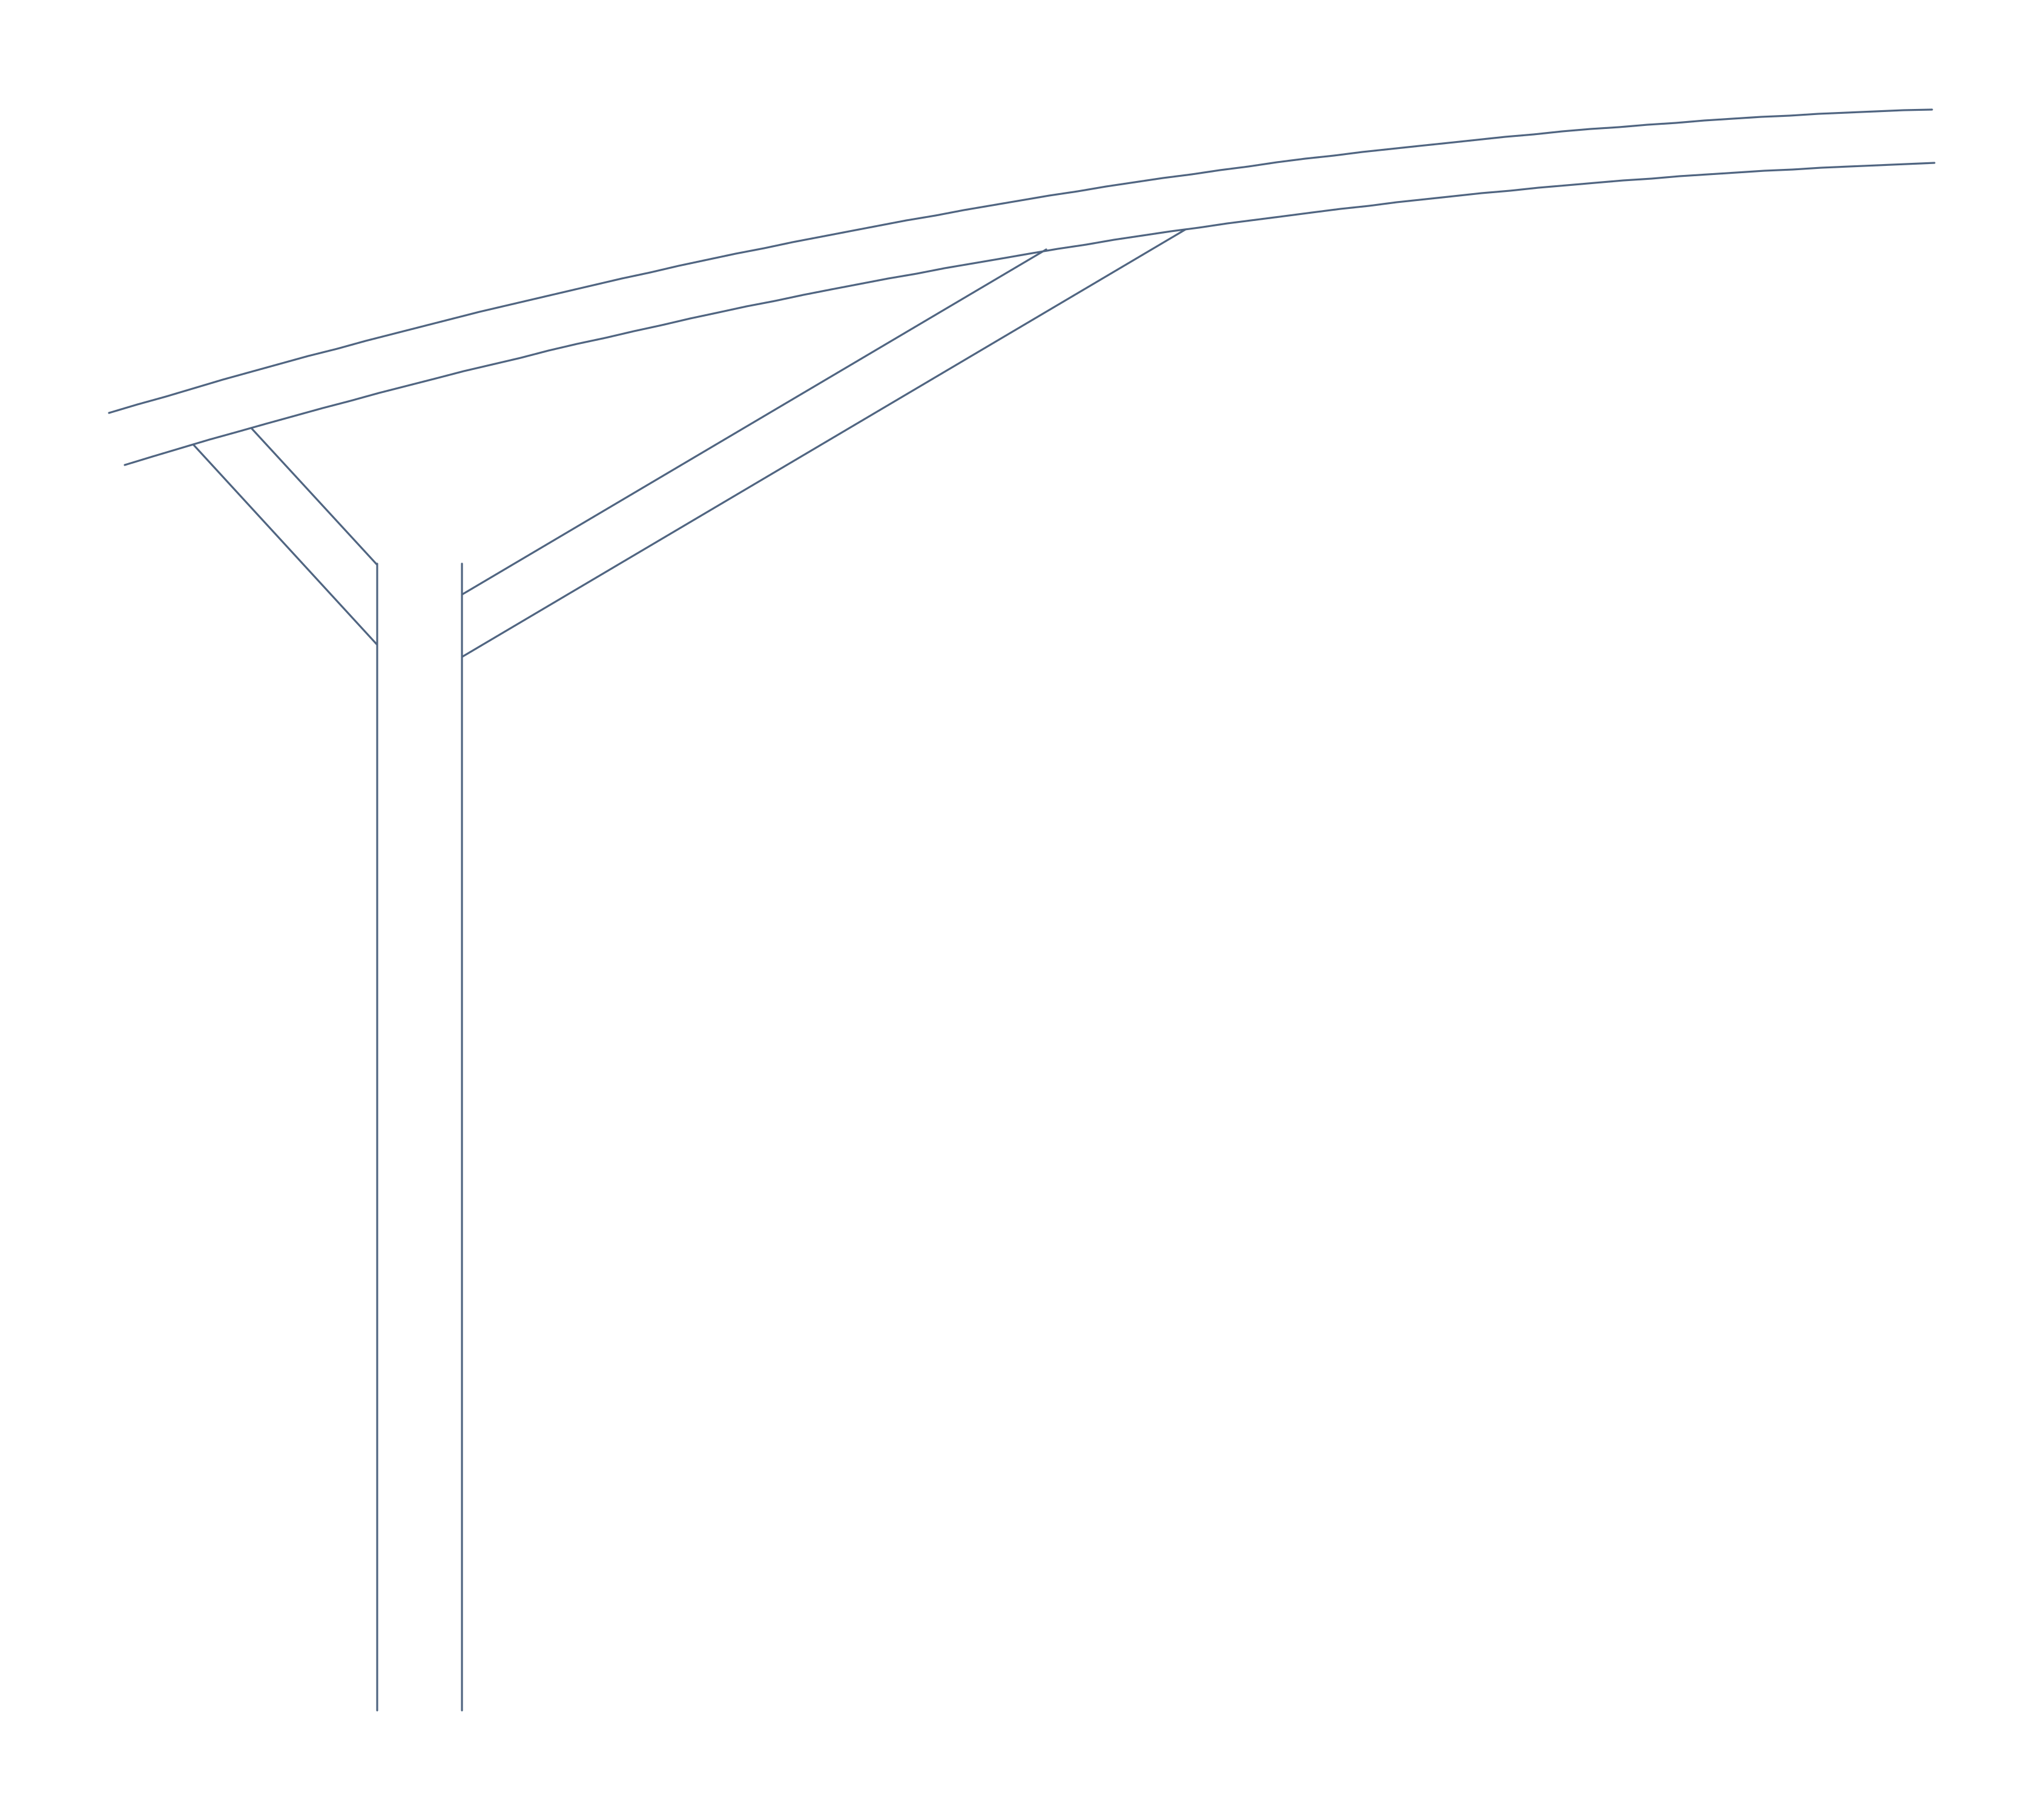
A curved round-tube beam and offset column form a one-sided canopy whose tube and joint details matter.
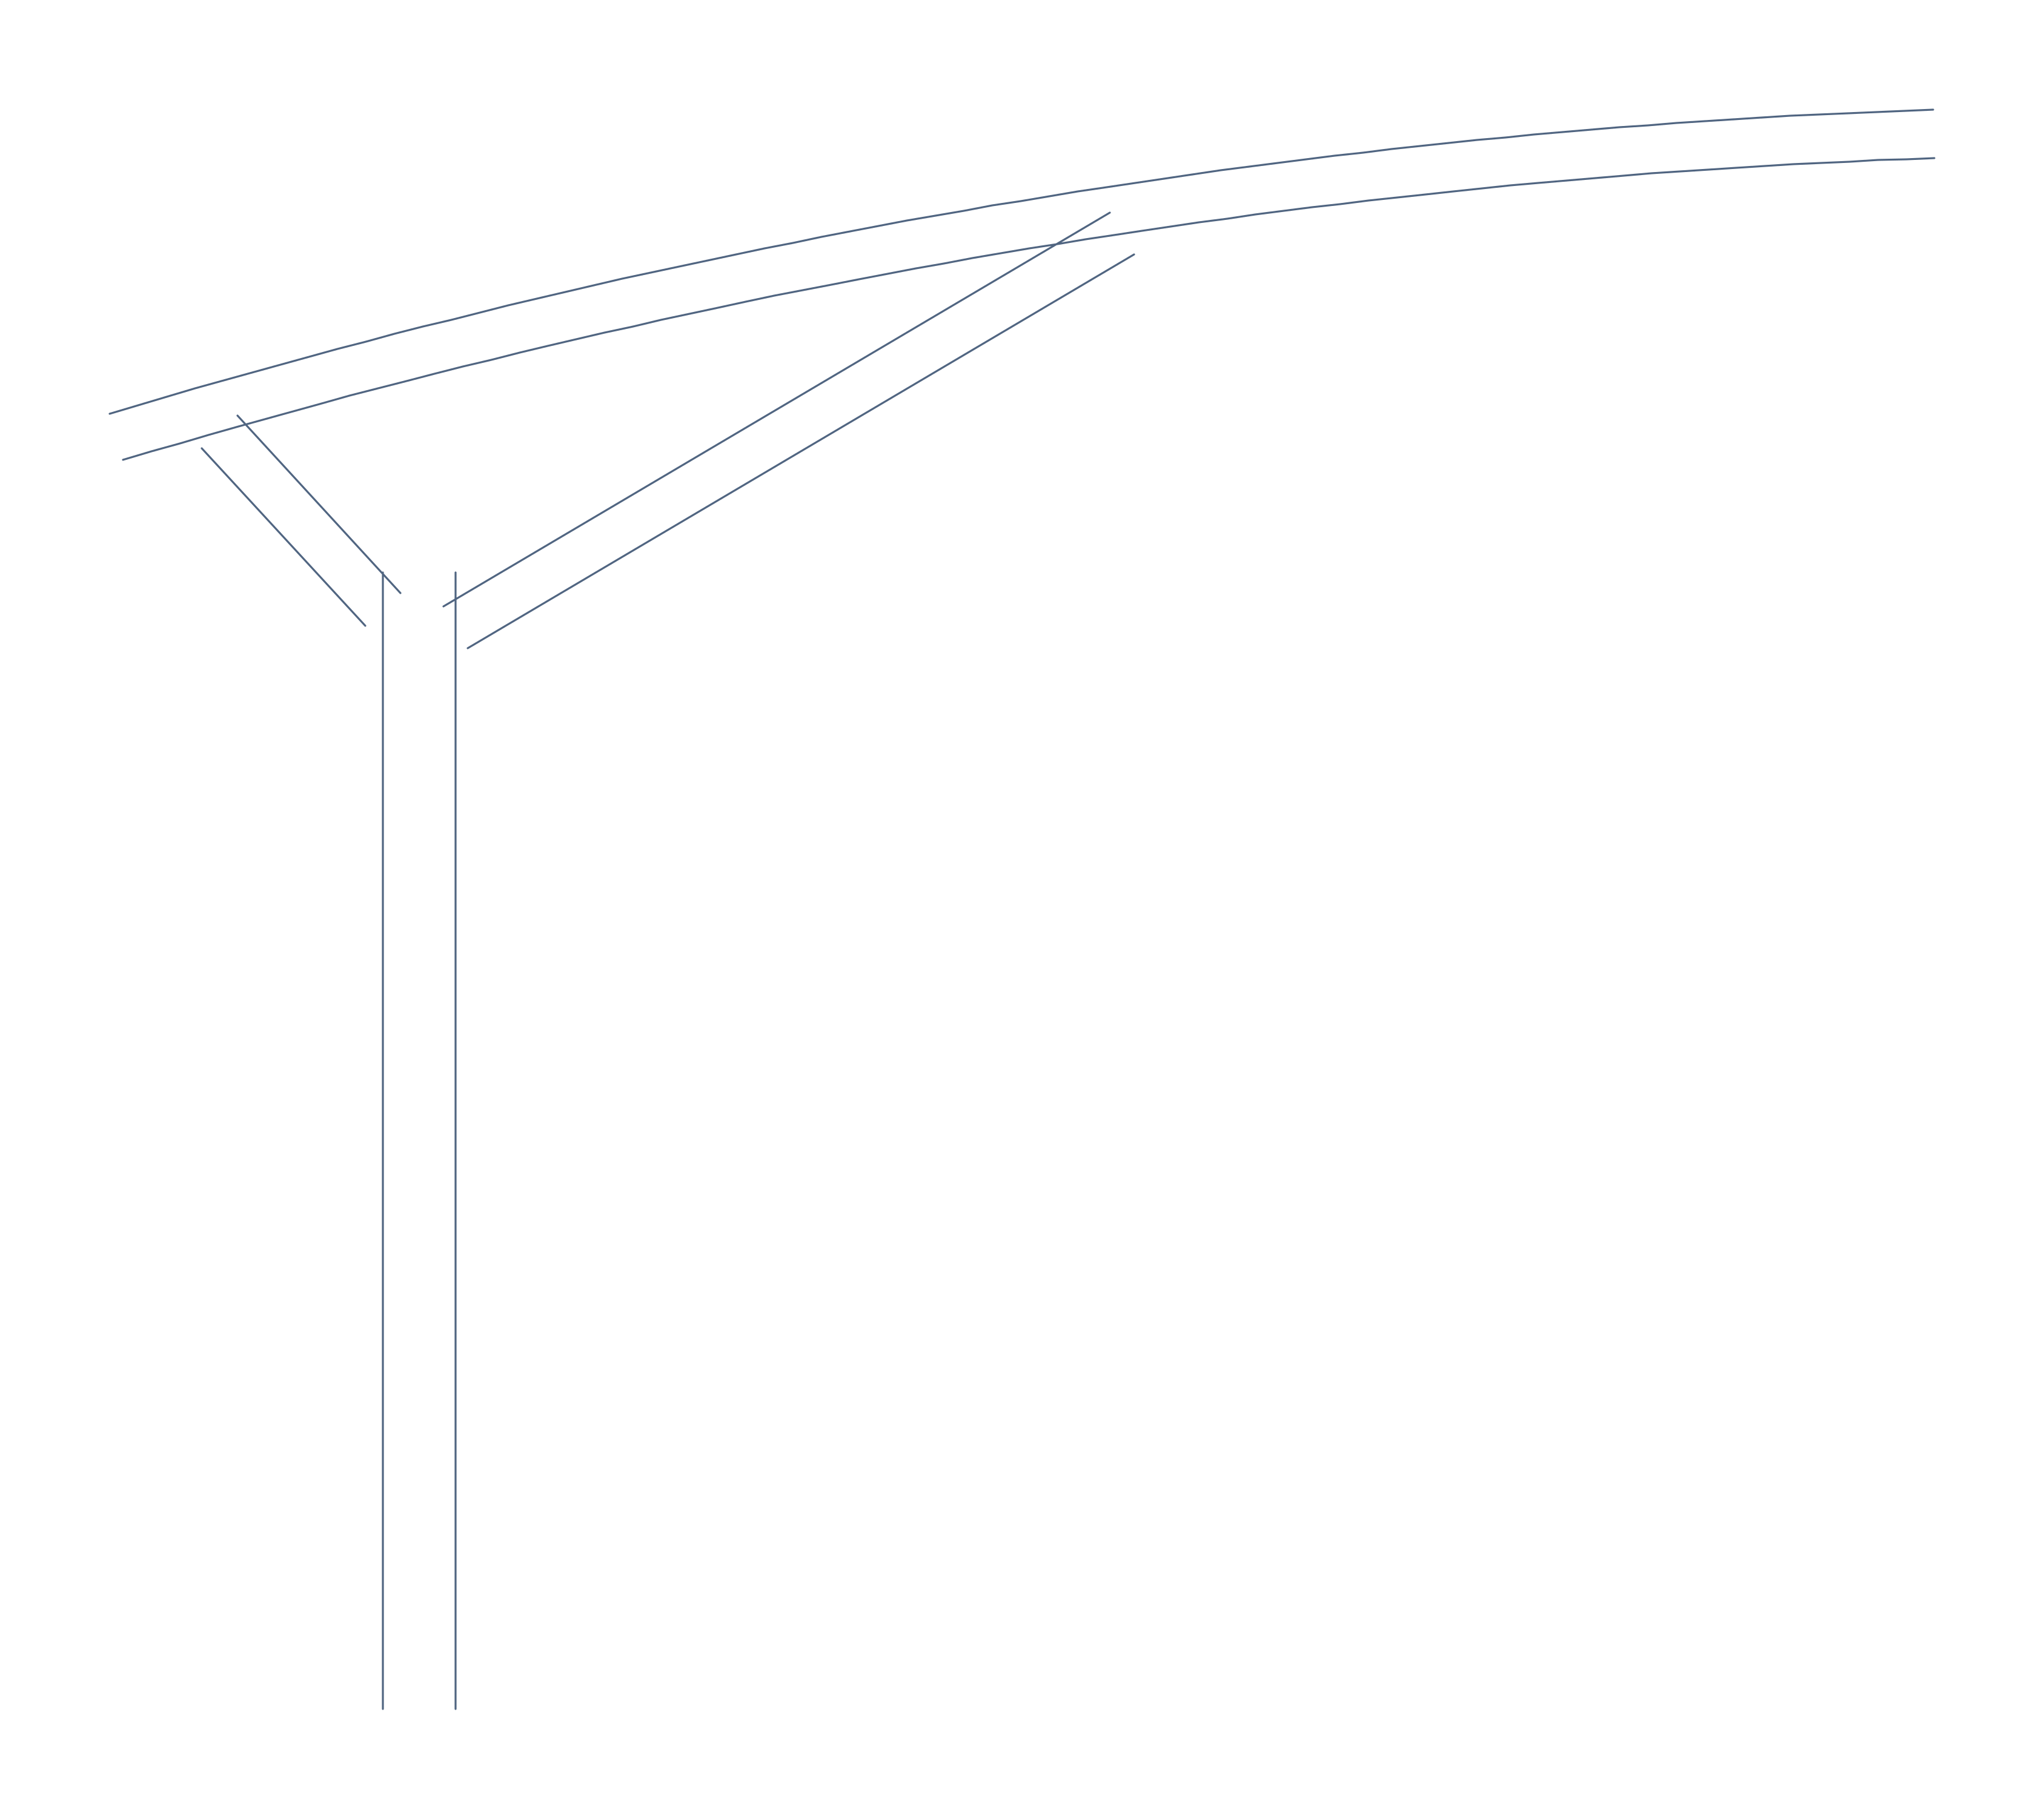
A curved square-tube beam and offset column cover a single row, with bending and membrane joints to resolve.
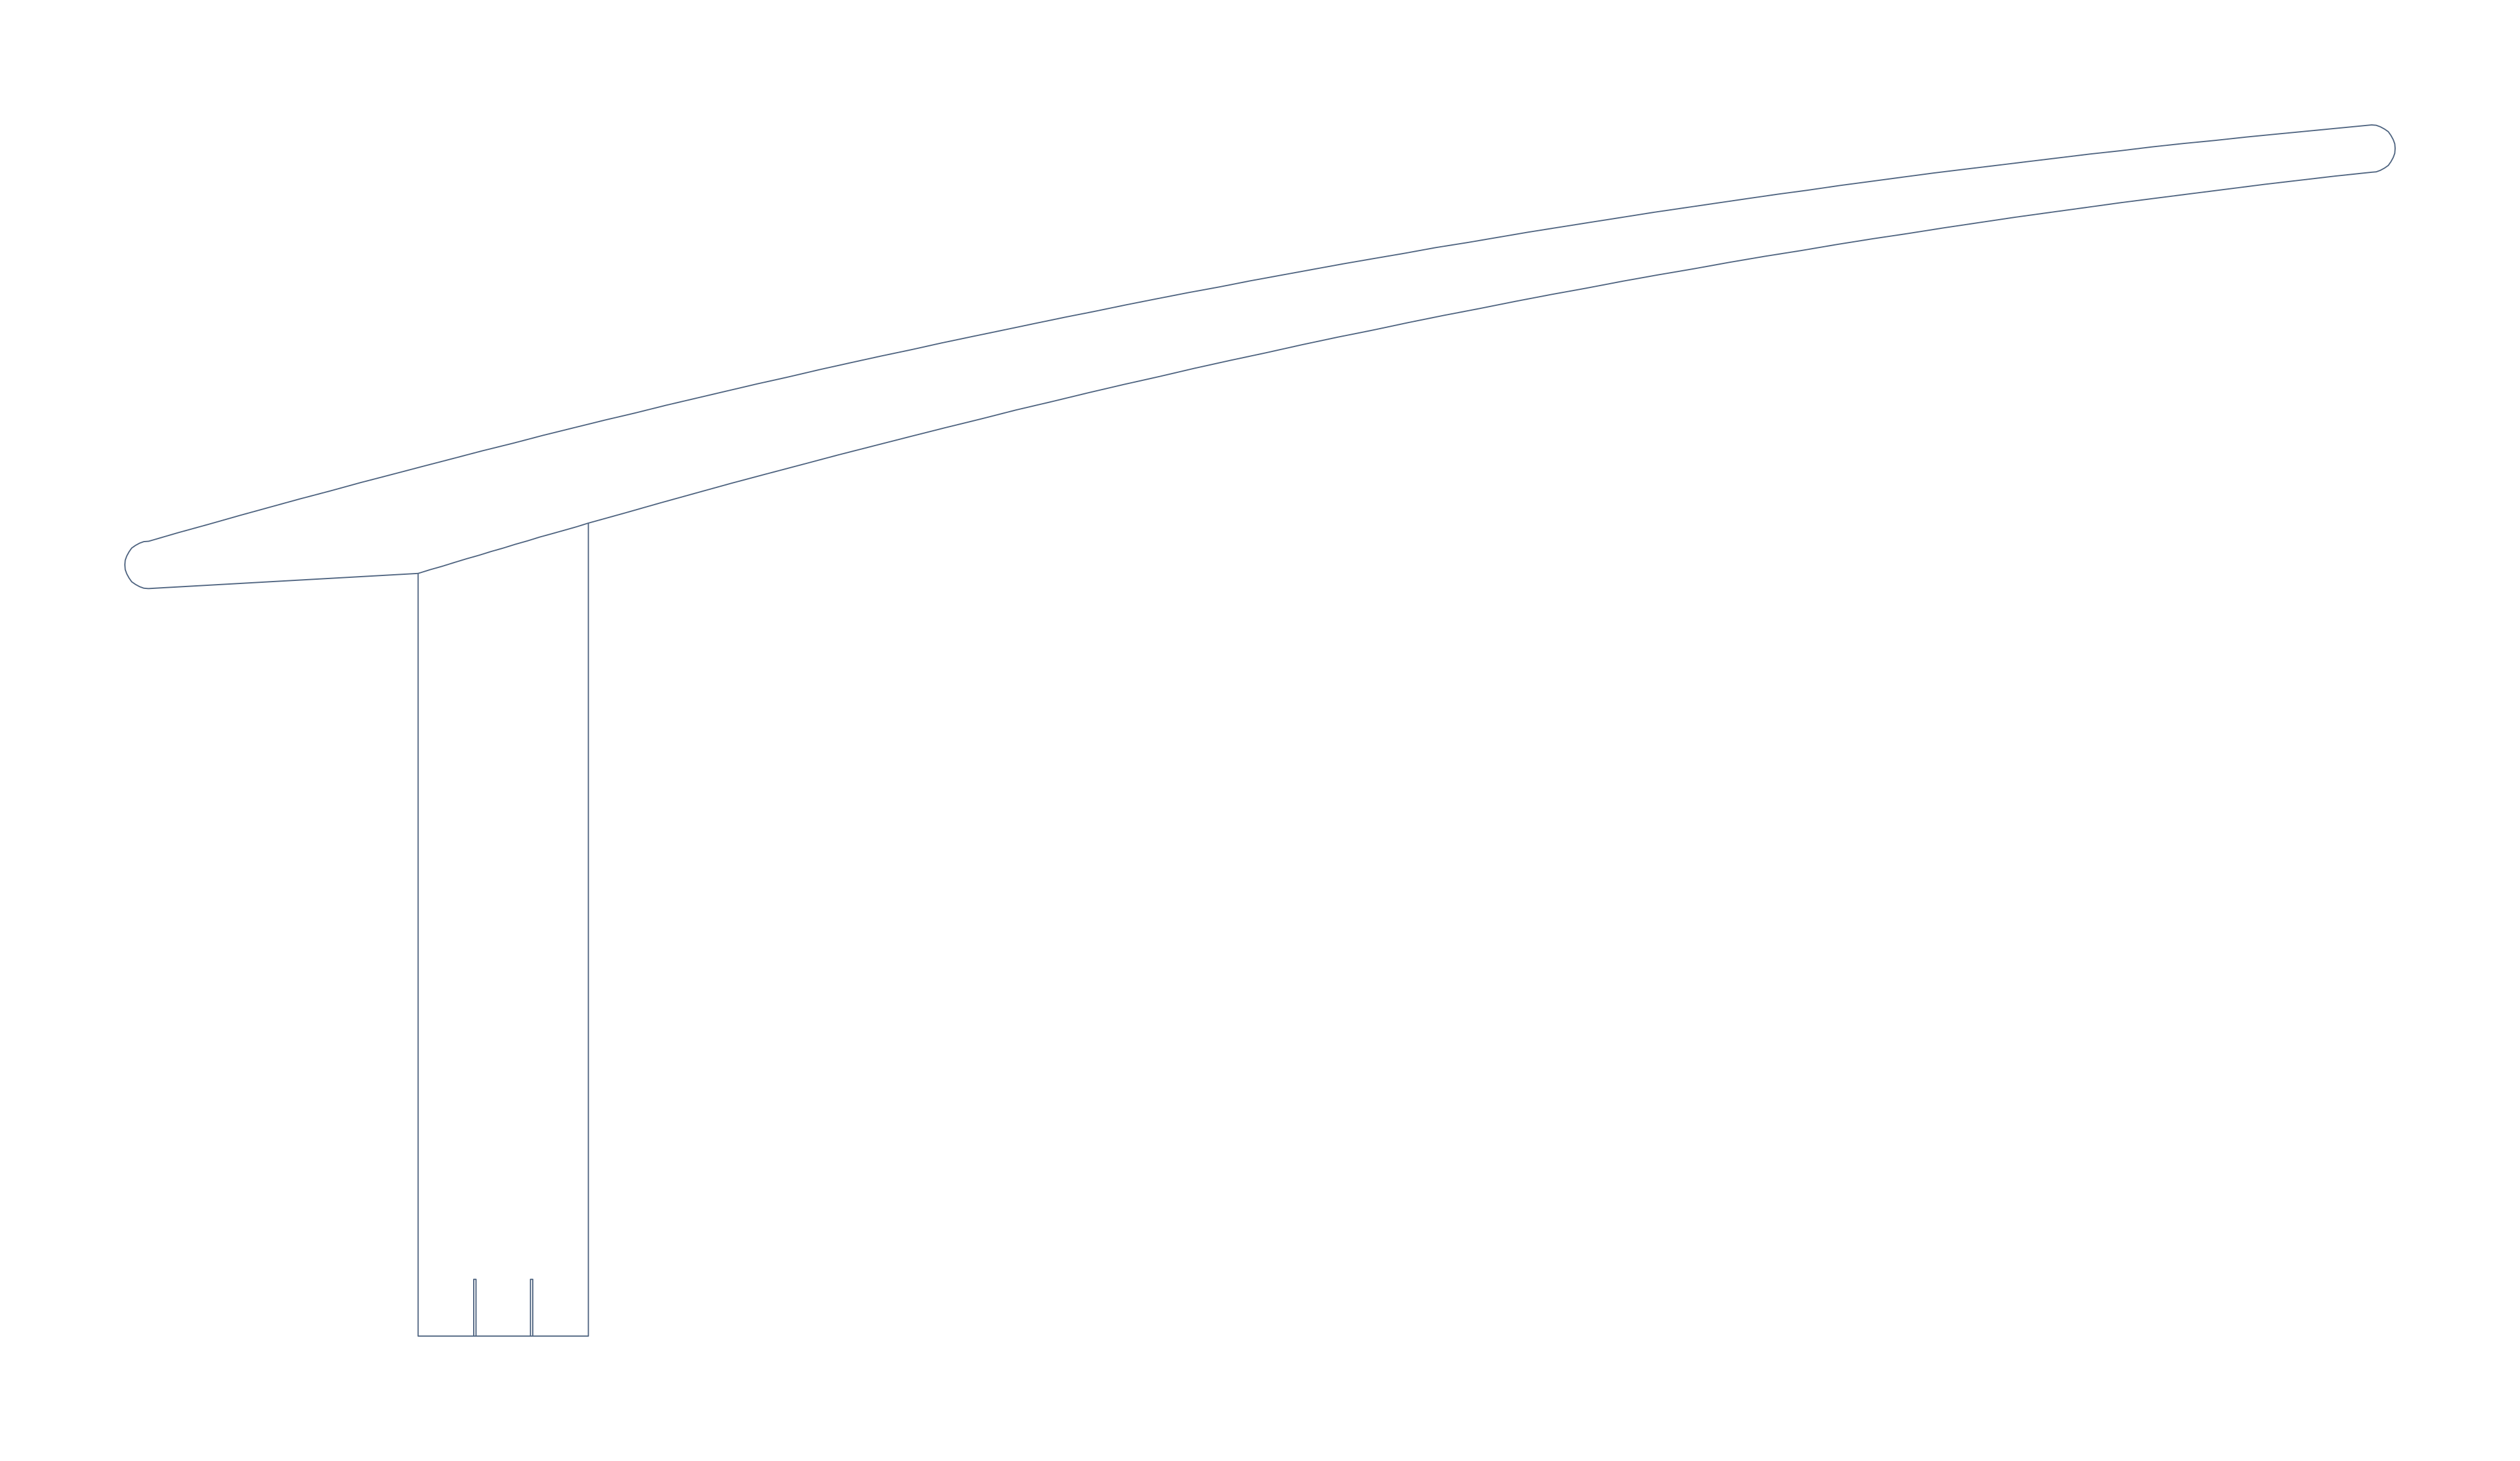
An offset straight column supports a curved beam with a long front projection and short rear return.
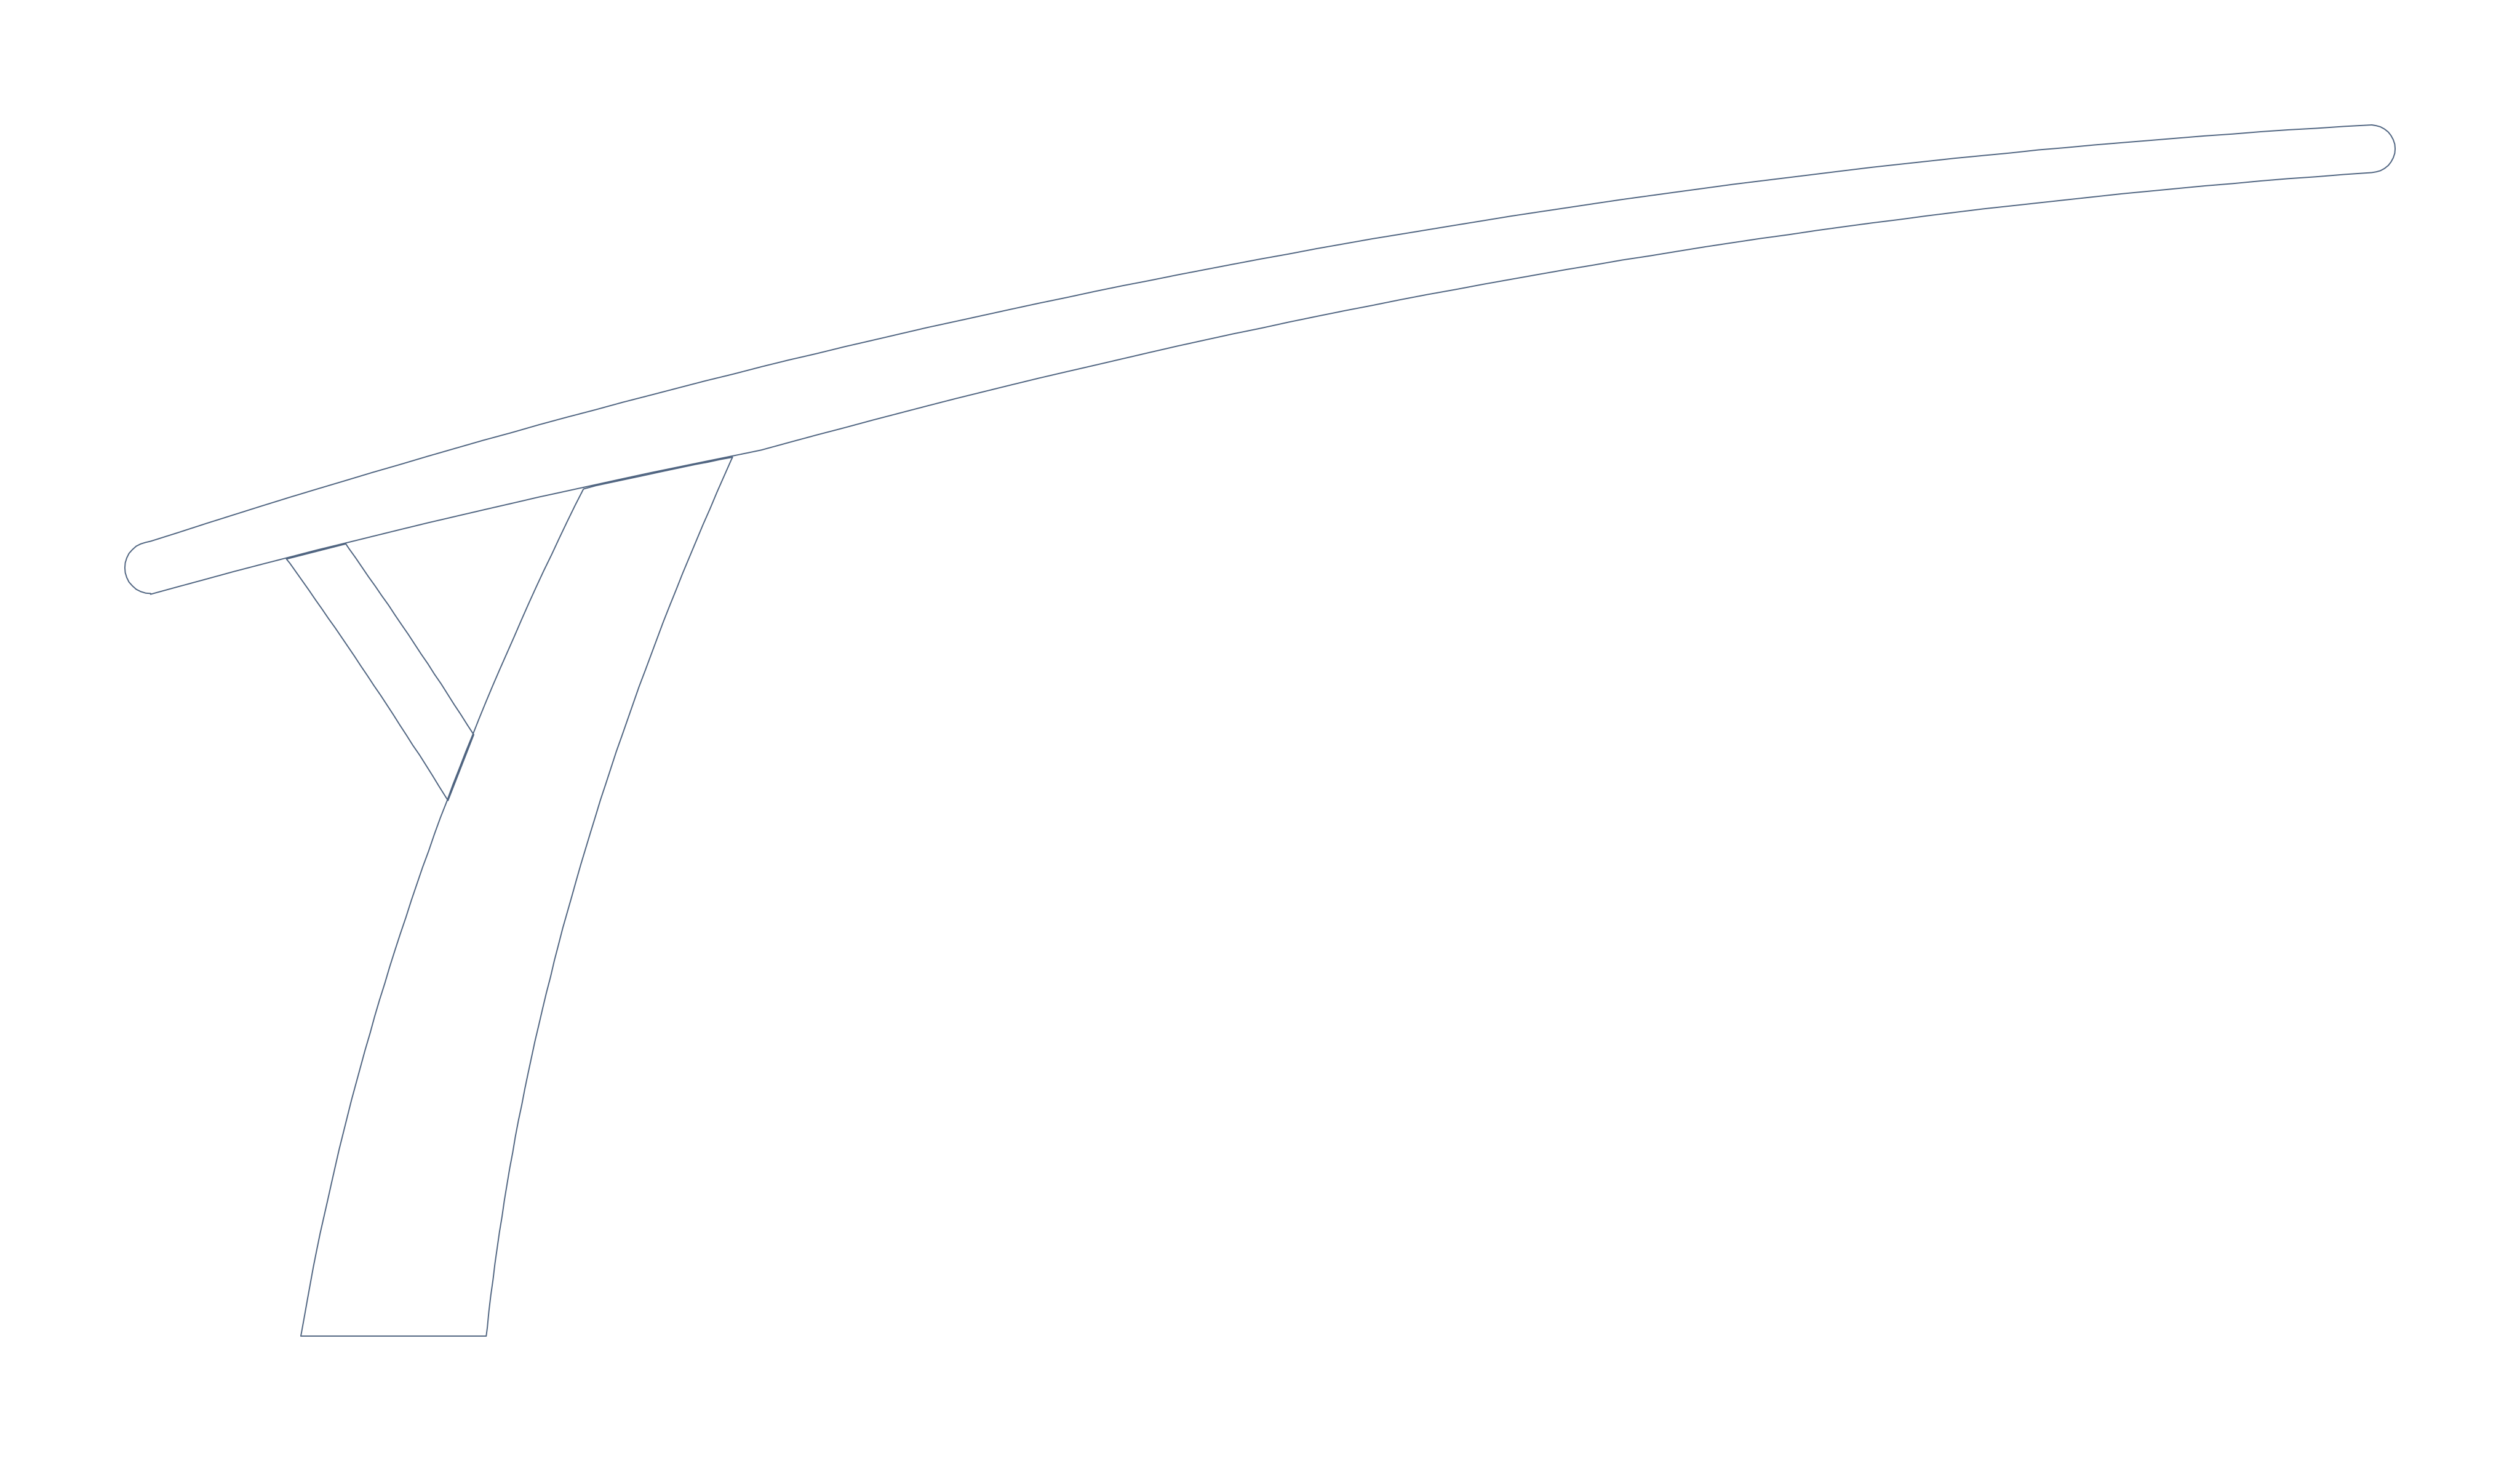
A forward-leaning curved column, long front beam and short braced rear projection make the handgun profile.

Visible rods accompany a one-sided projection for linear parking rows.
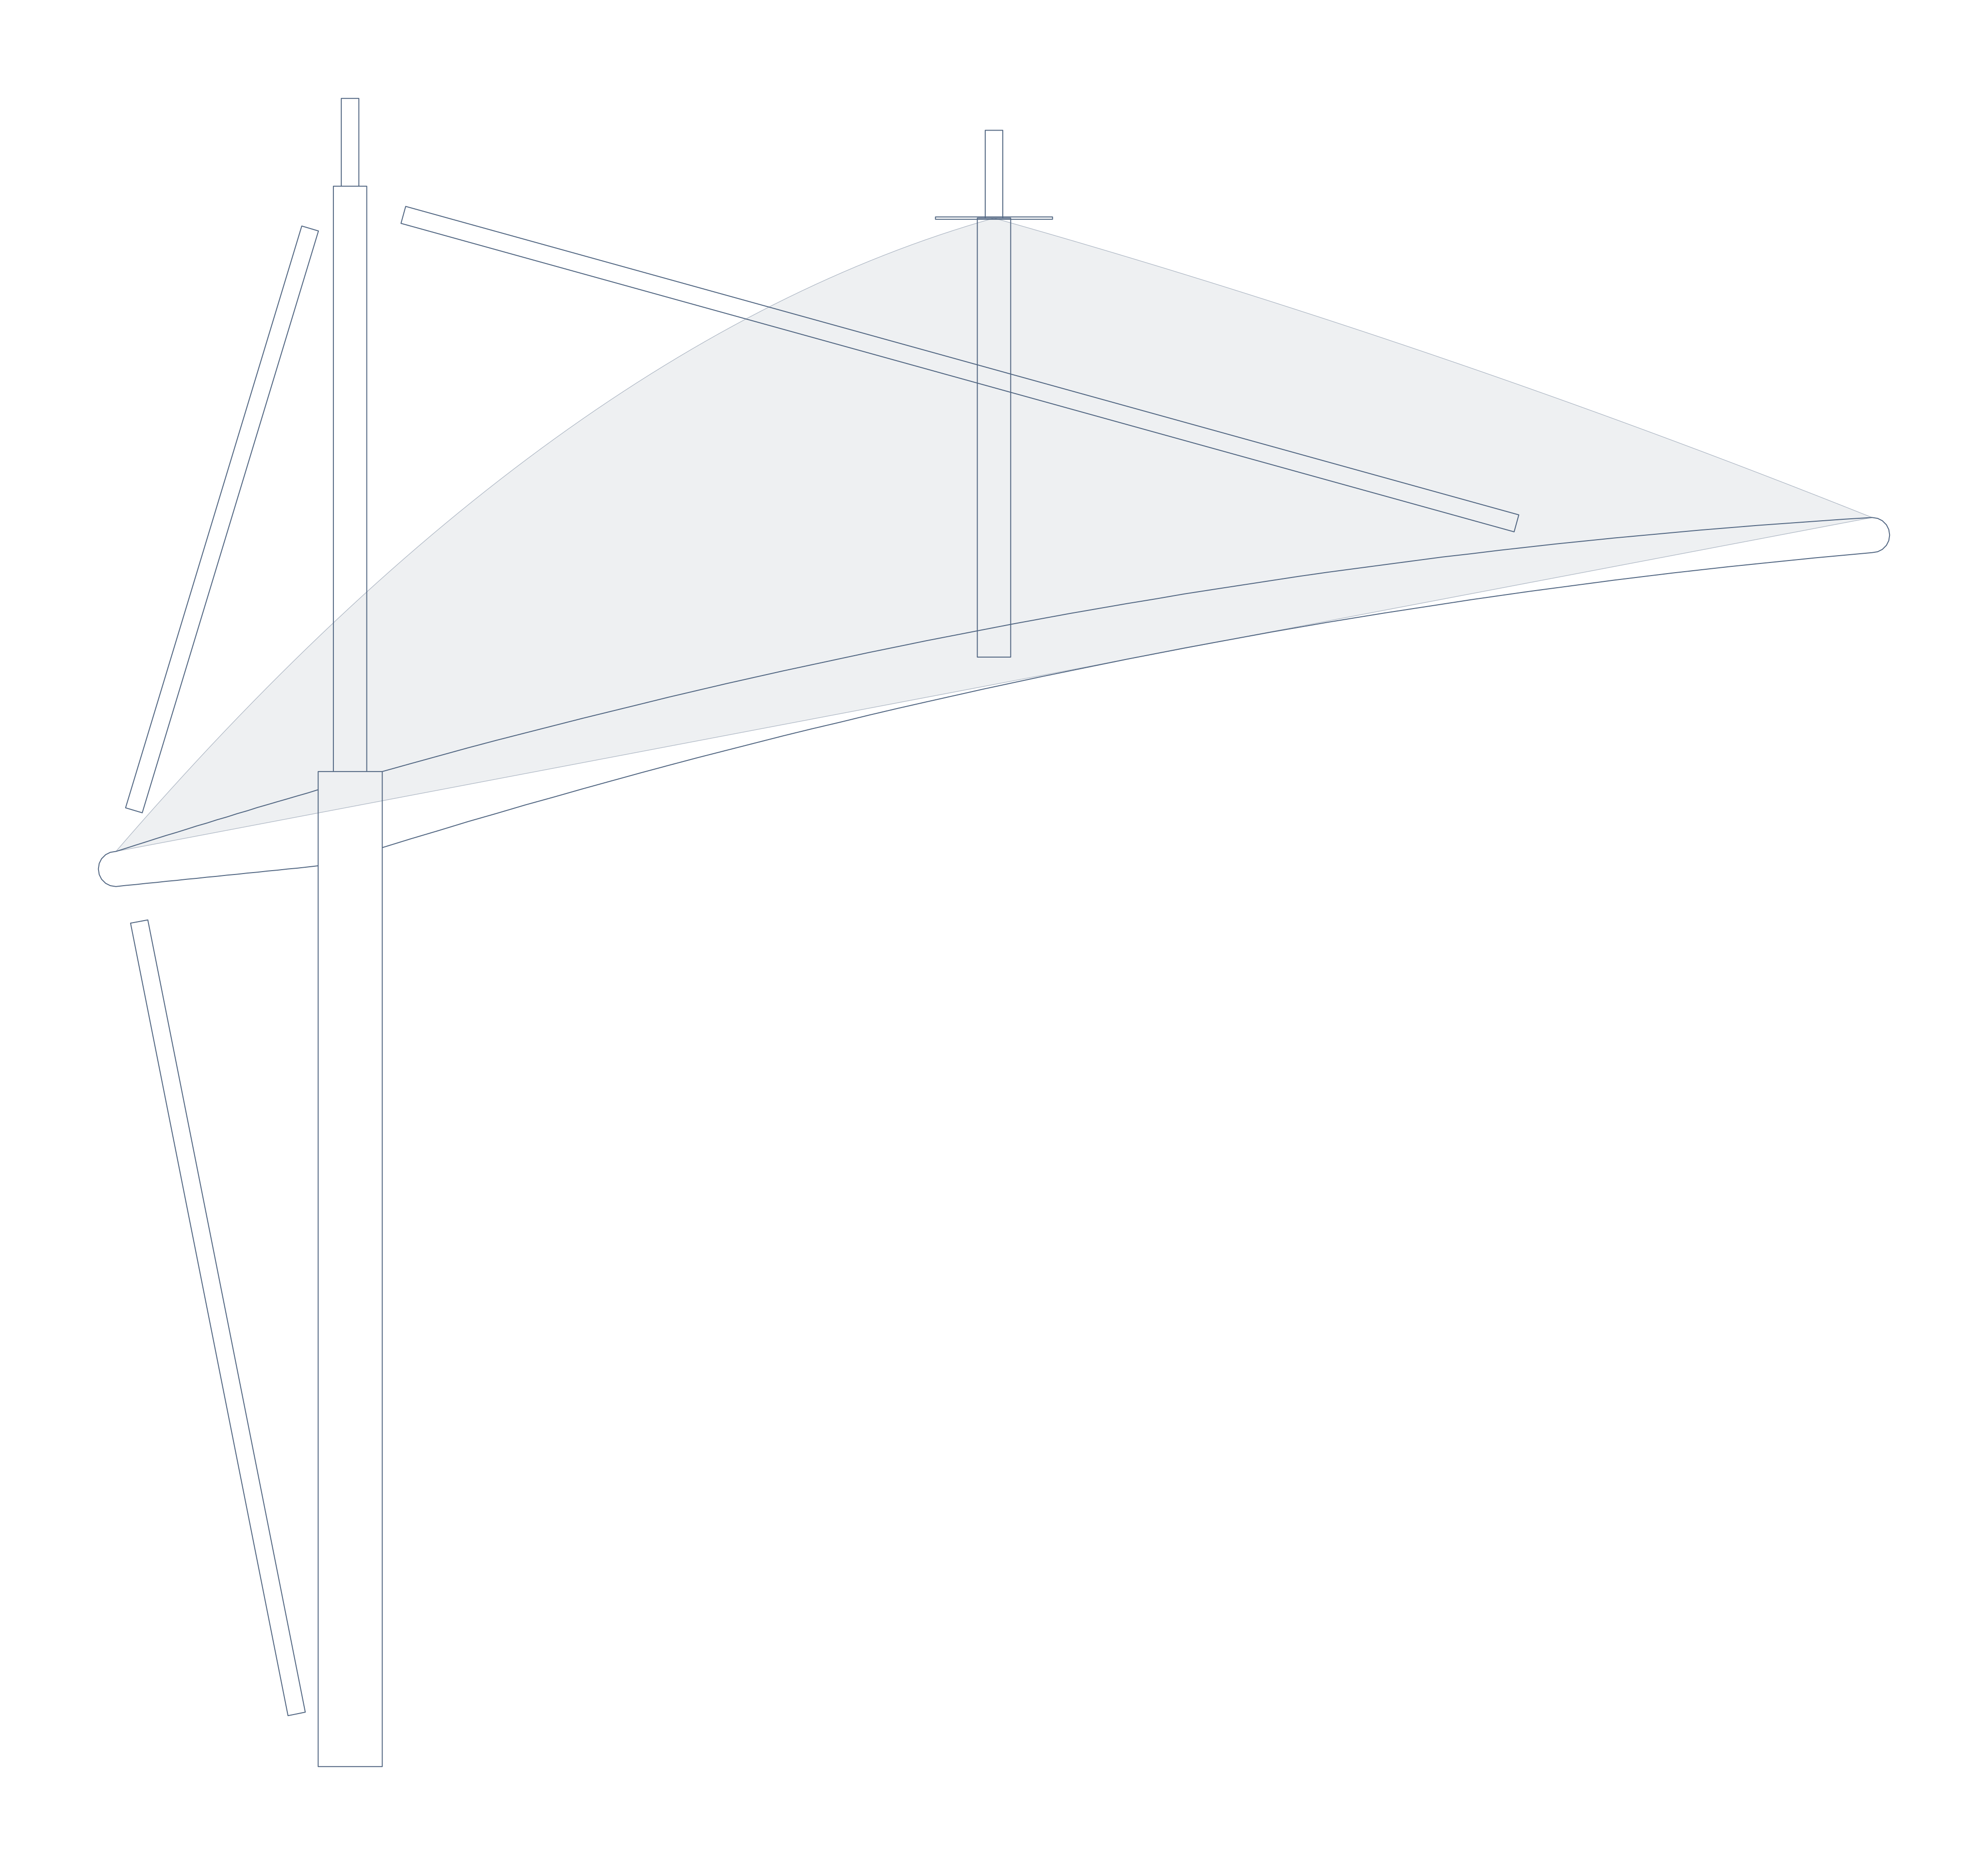
A raised crown adds height variation to the tie-rod cantilever silhouette.
Two rows and central supports
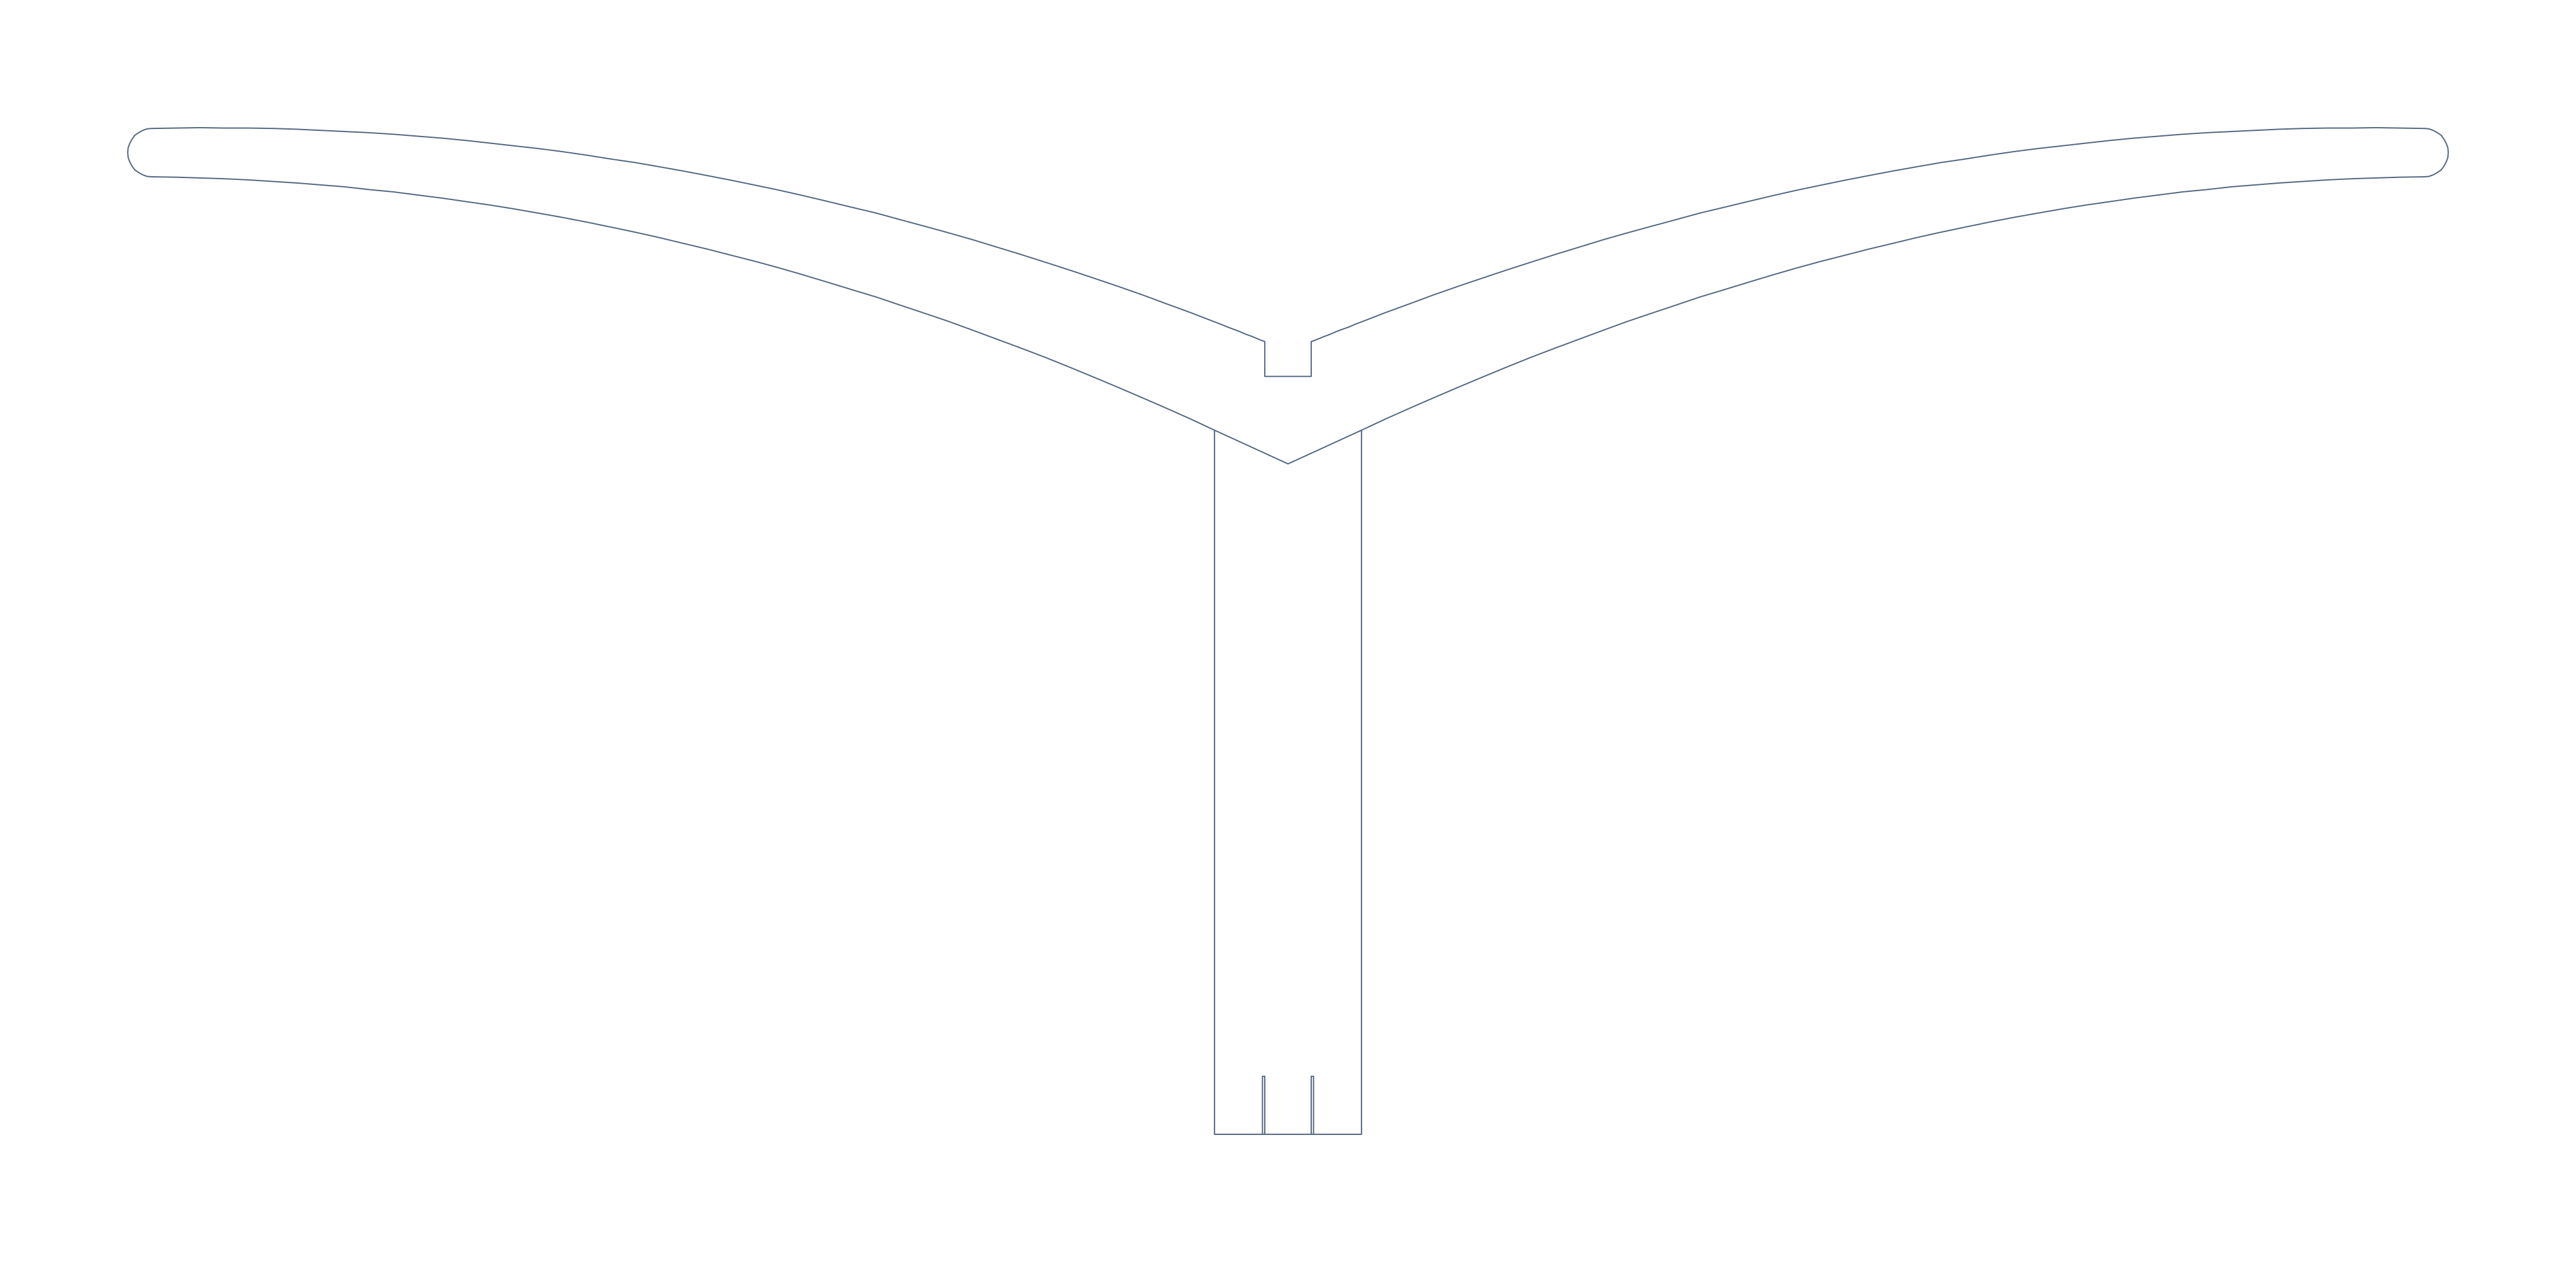
A central stem branches to both sides, creating a lighter two-sided roof profile.
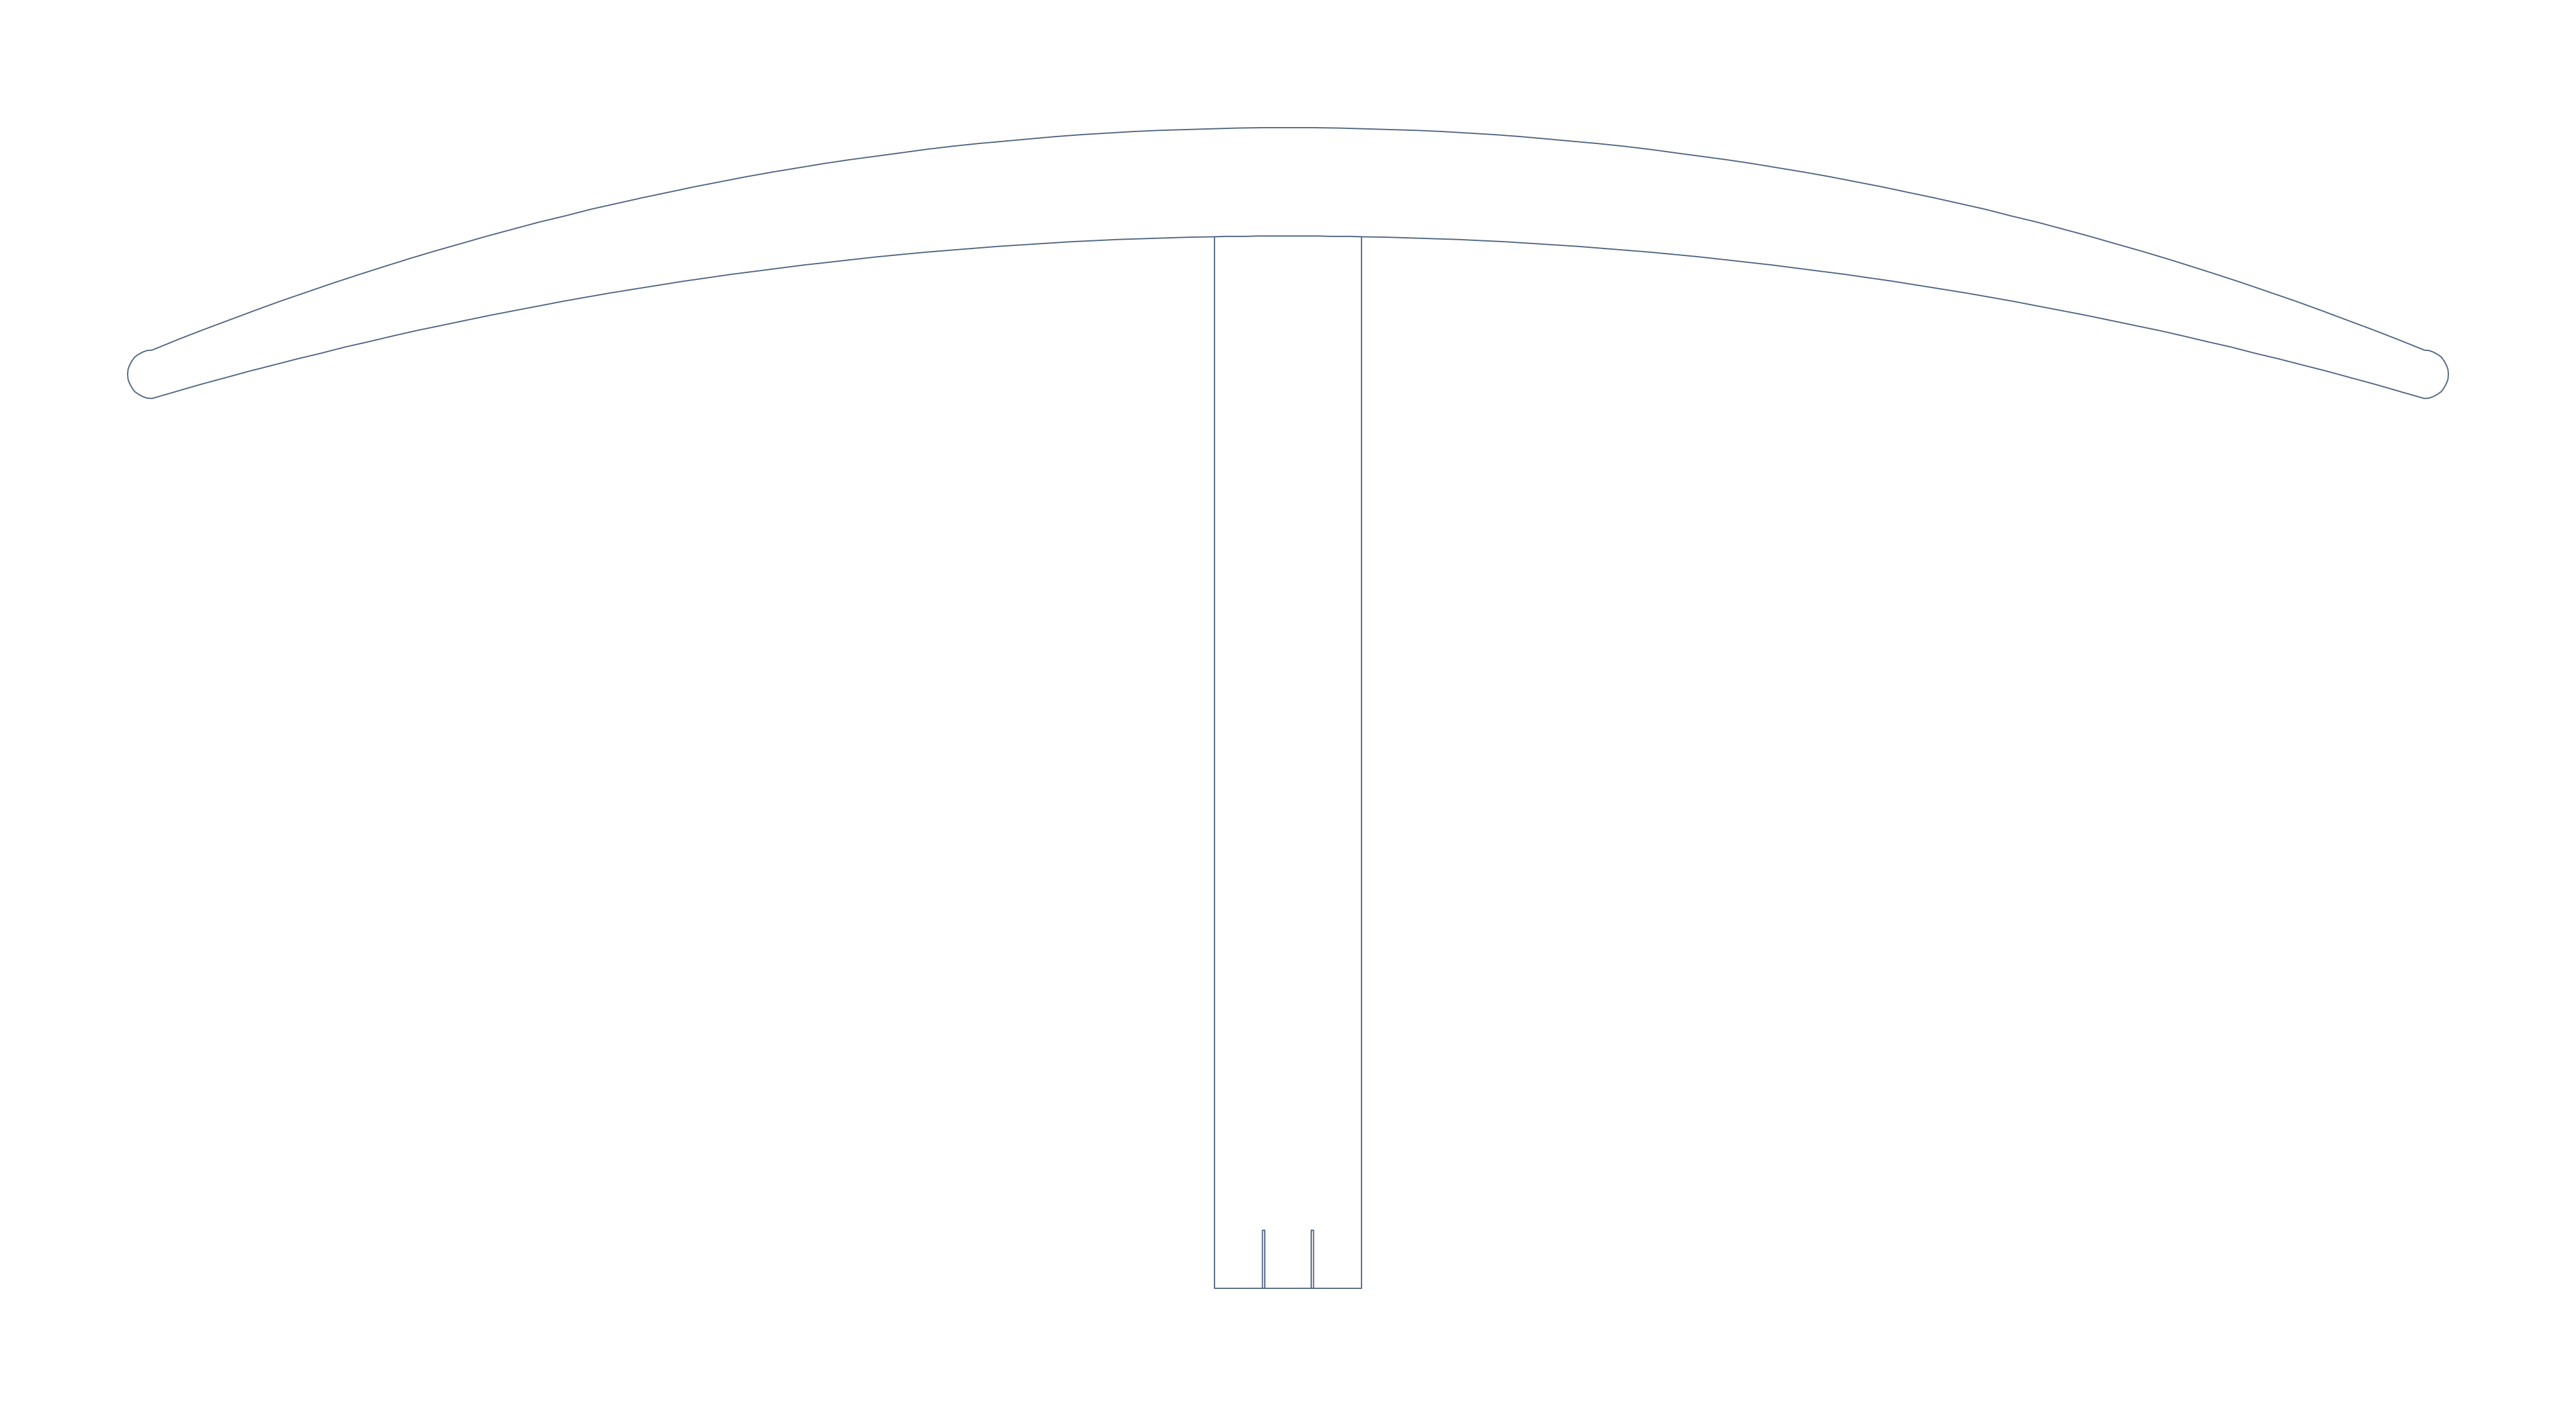
A central column supports two curved wings, highest over the column and lower at both ends.
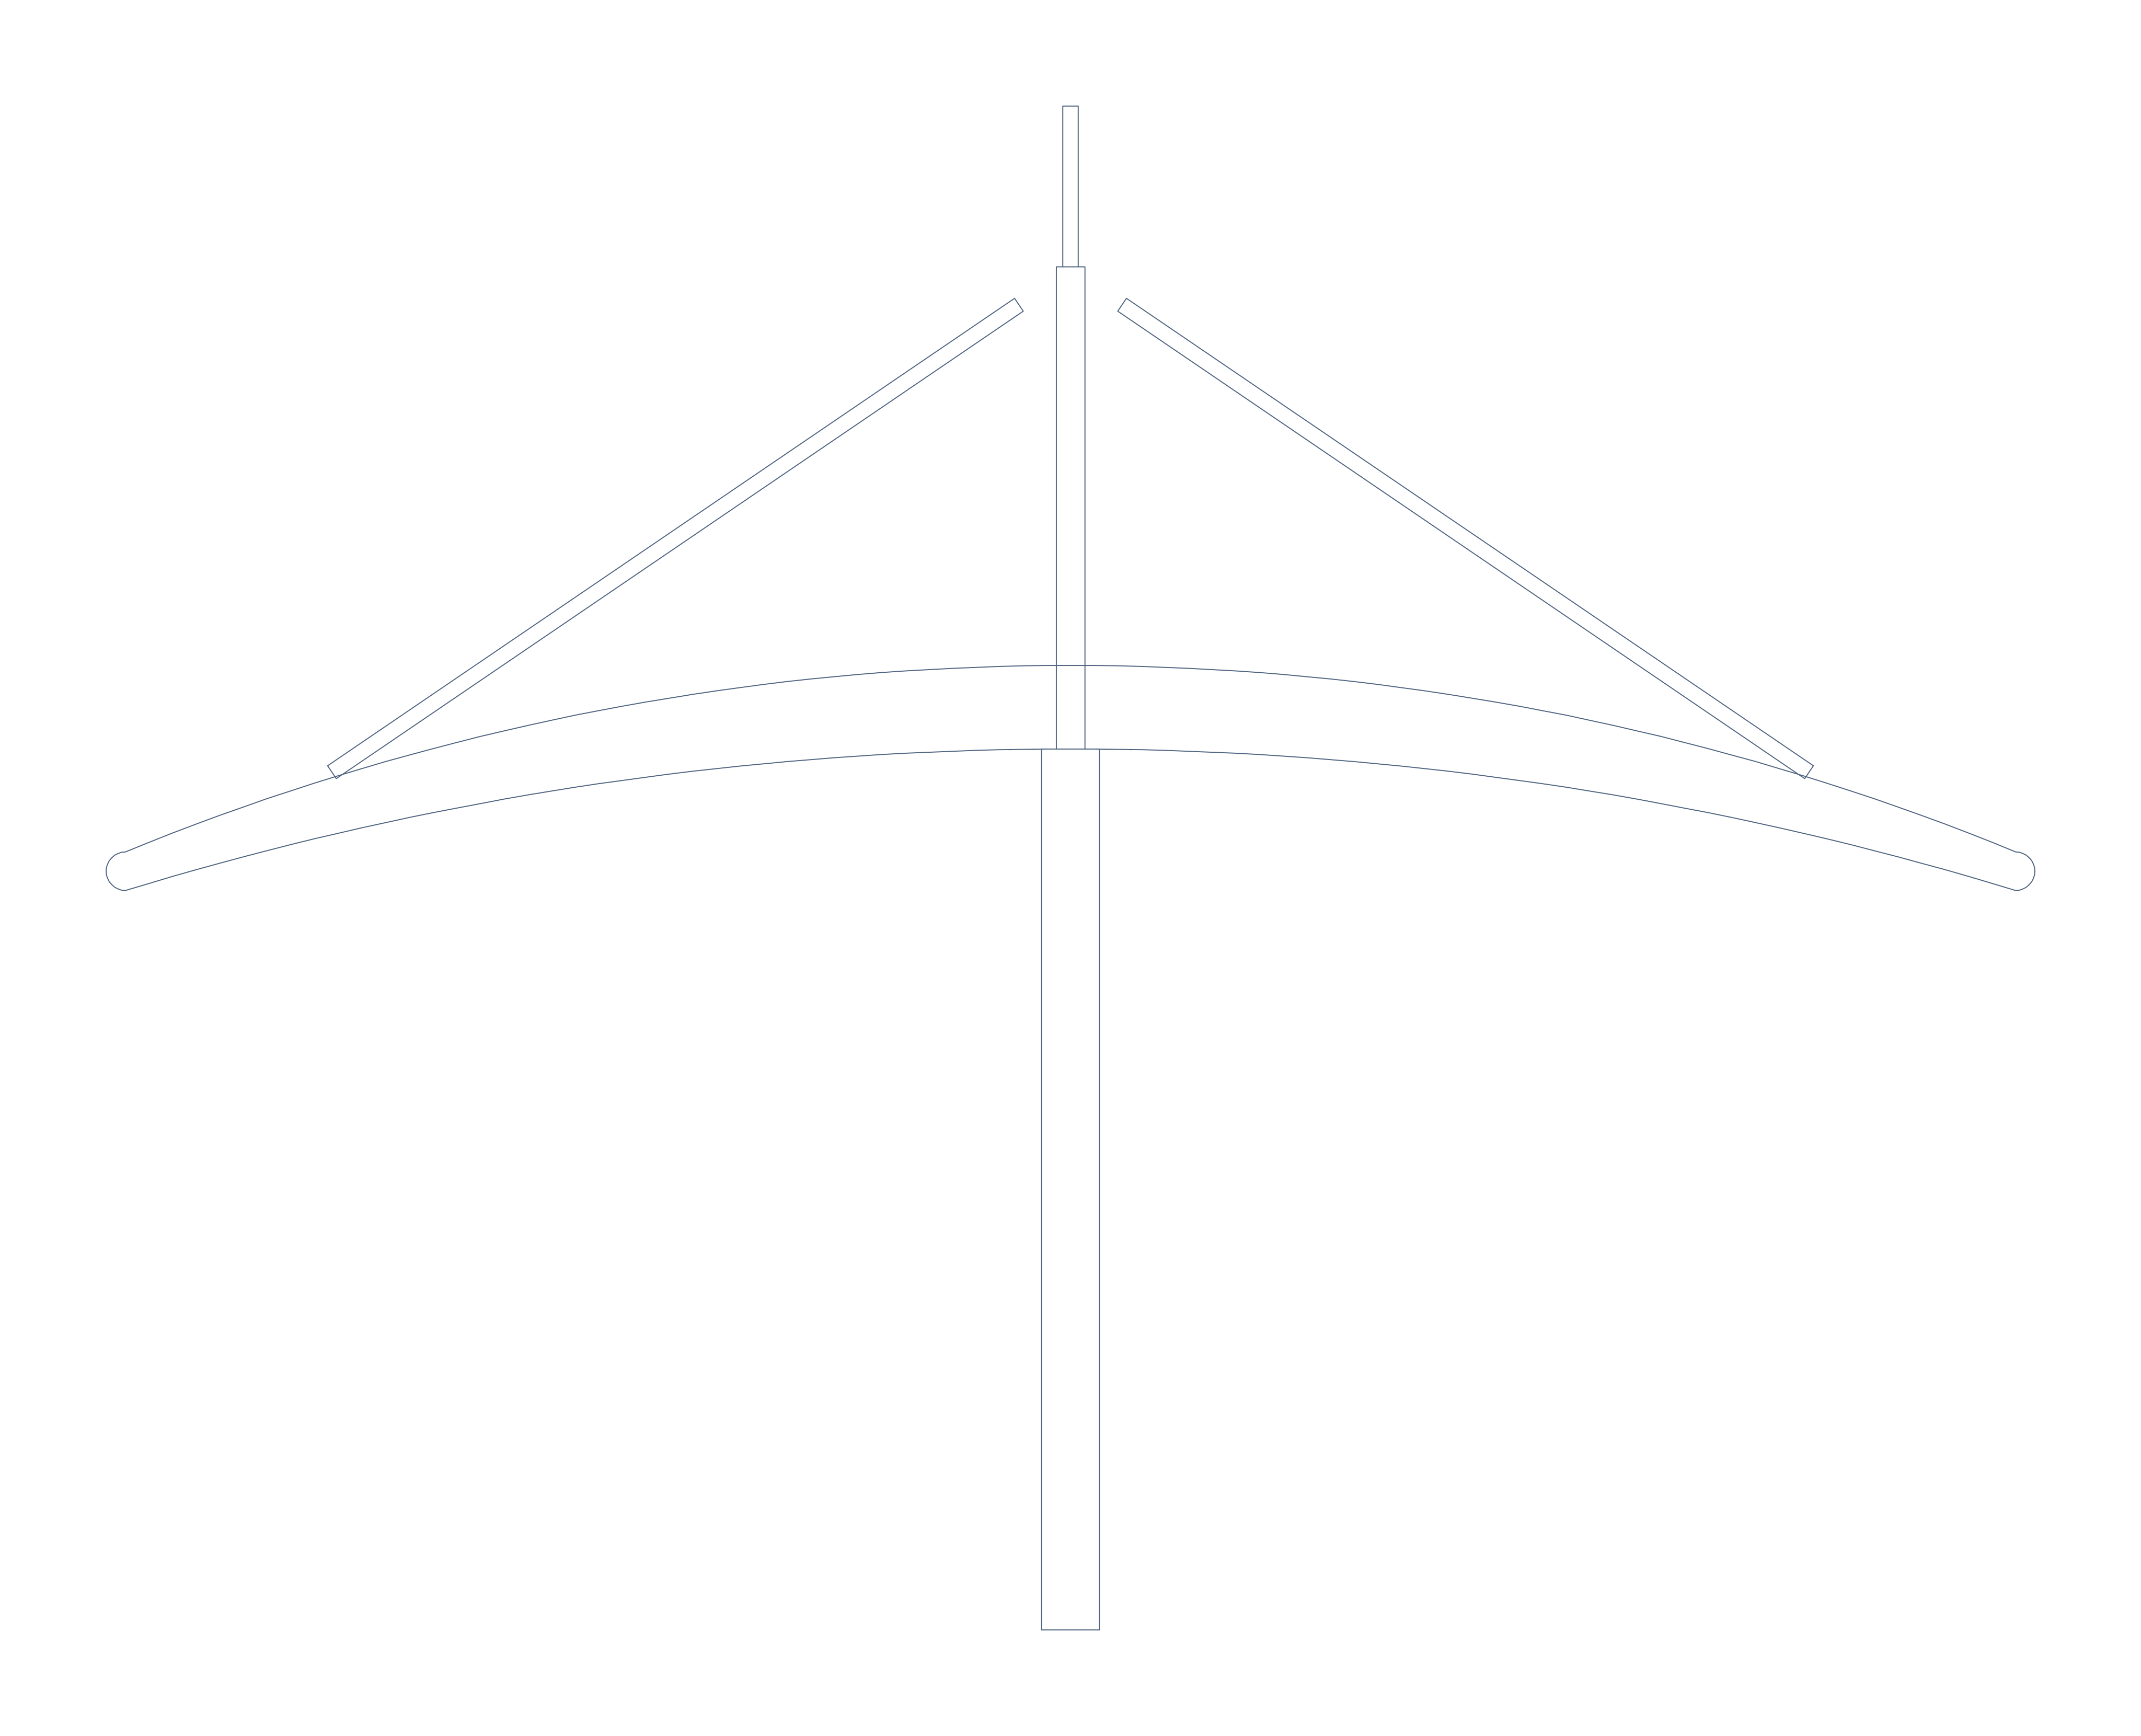
Visible rods are added below the curved wings of a central-column mushroom form.
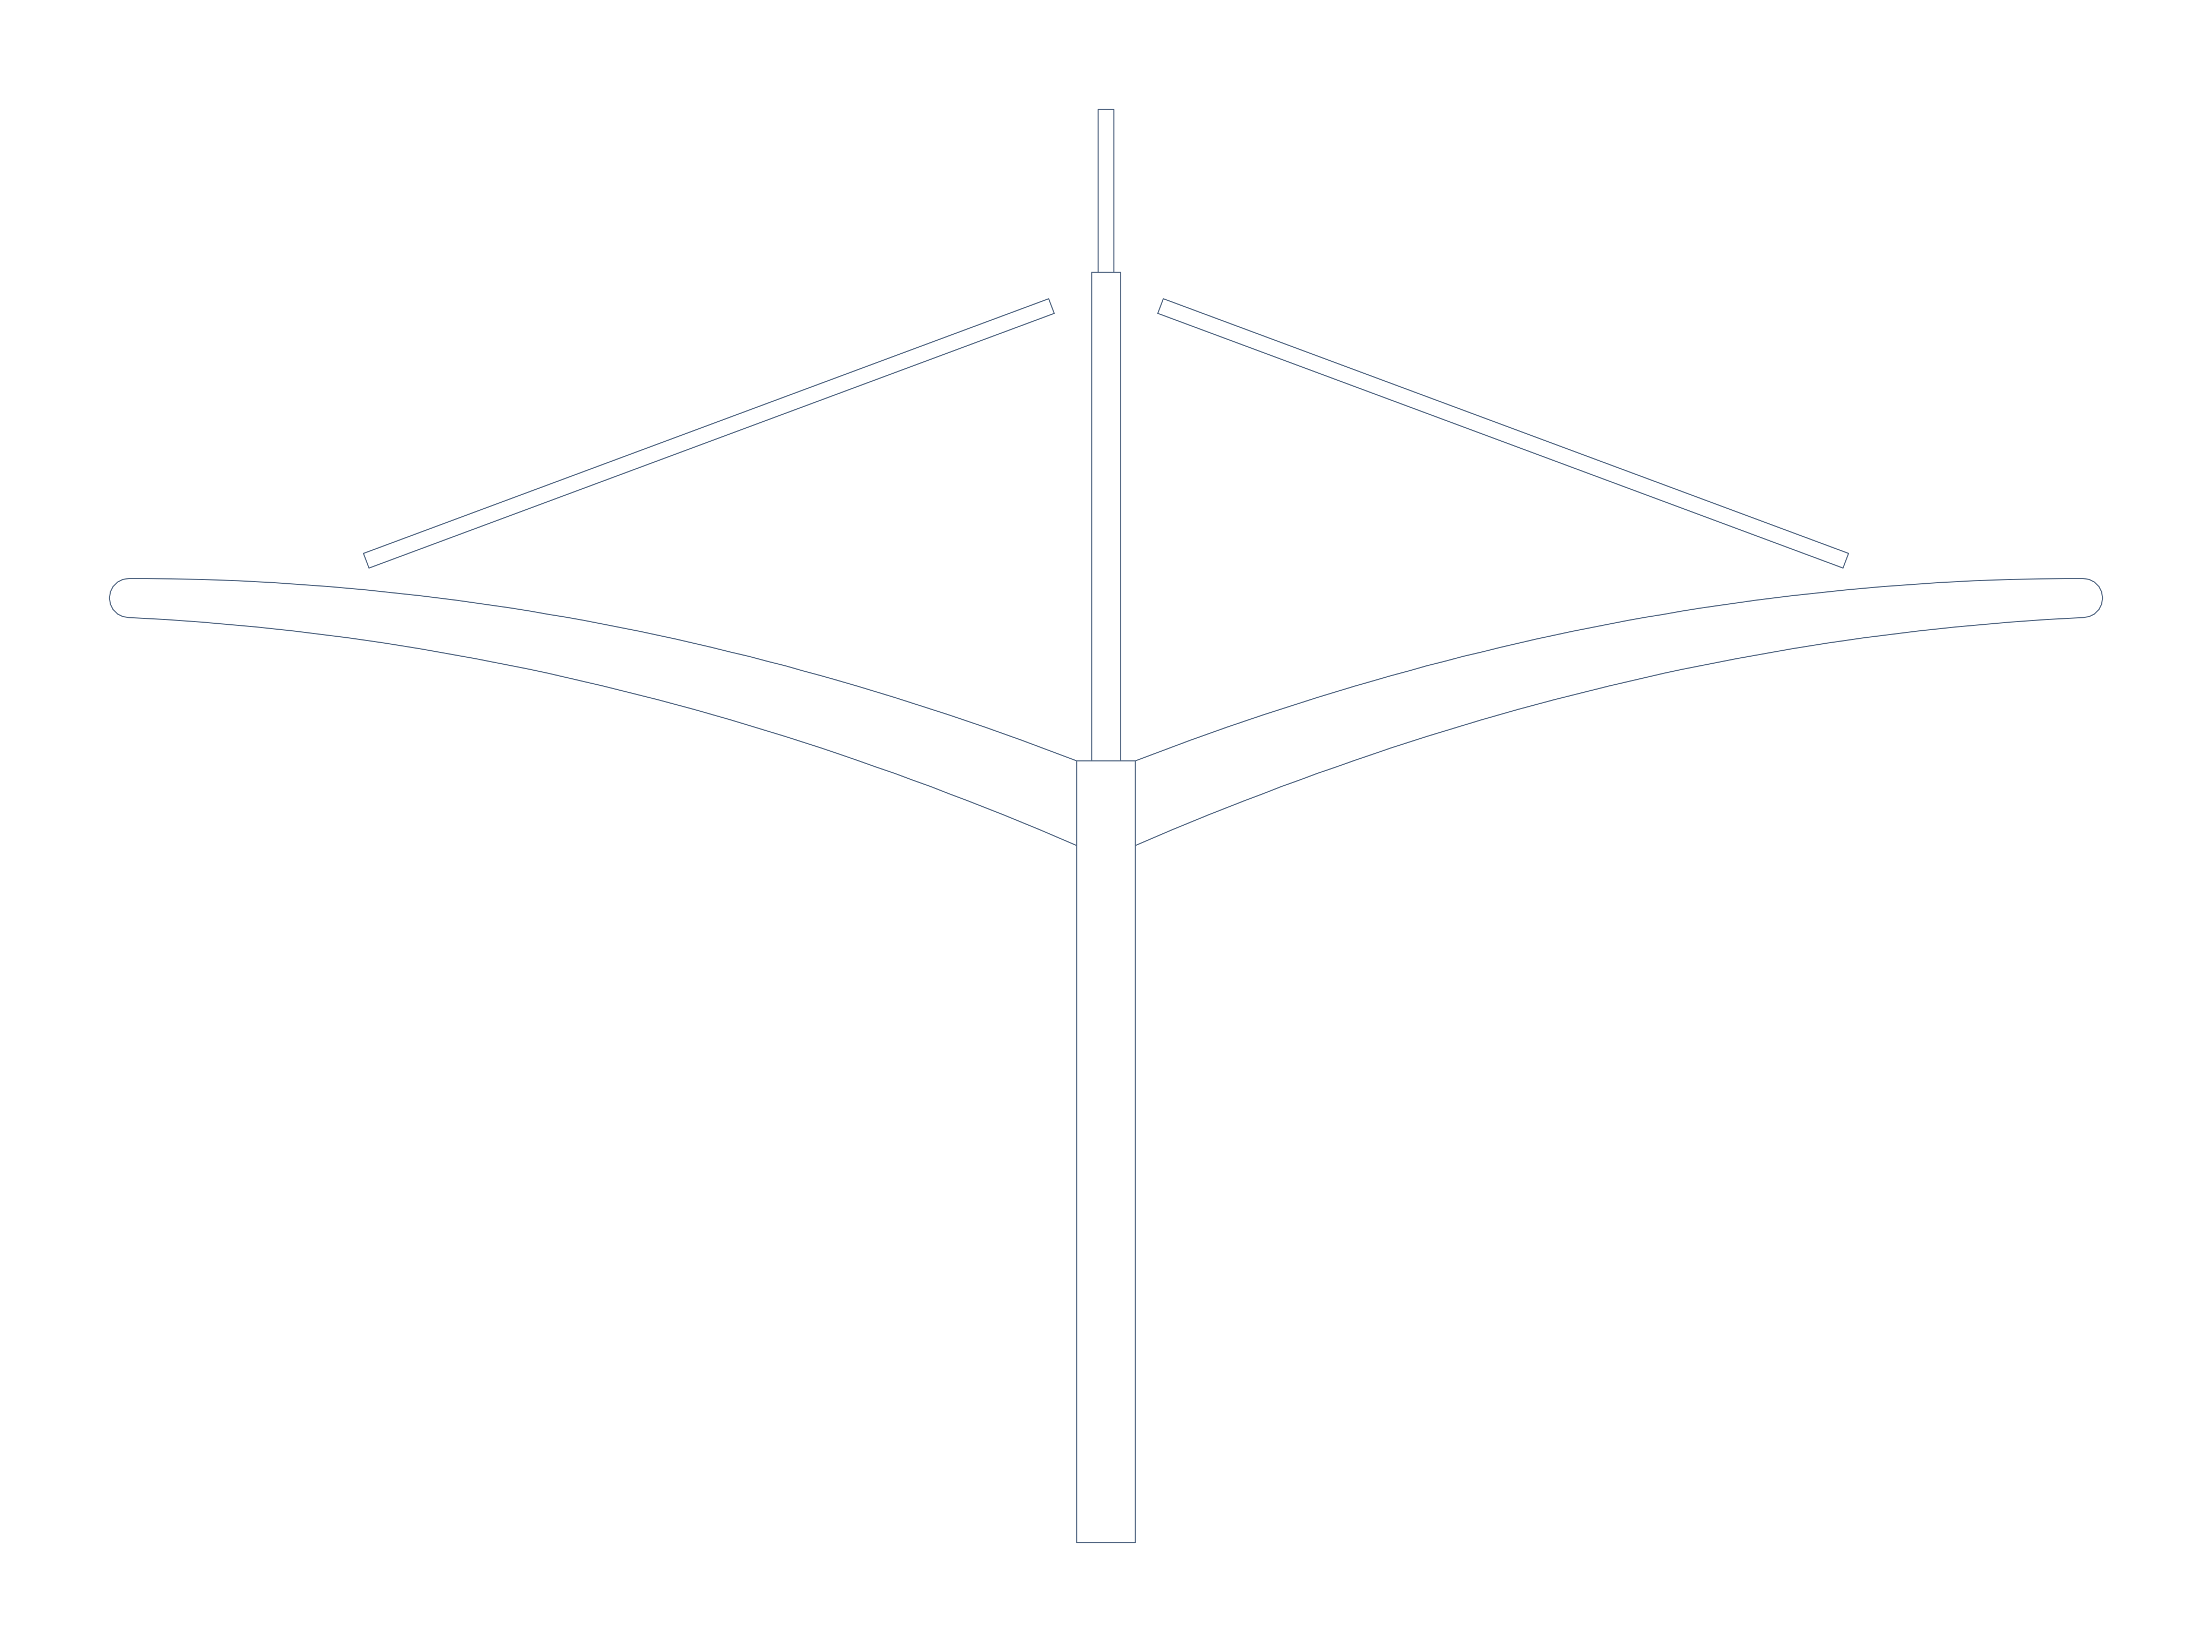
A central column line projects to both sides with visible rods for each wing.
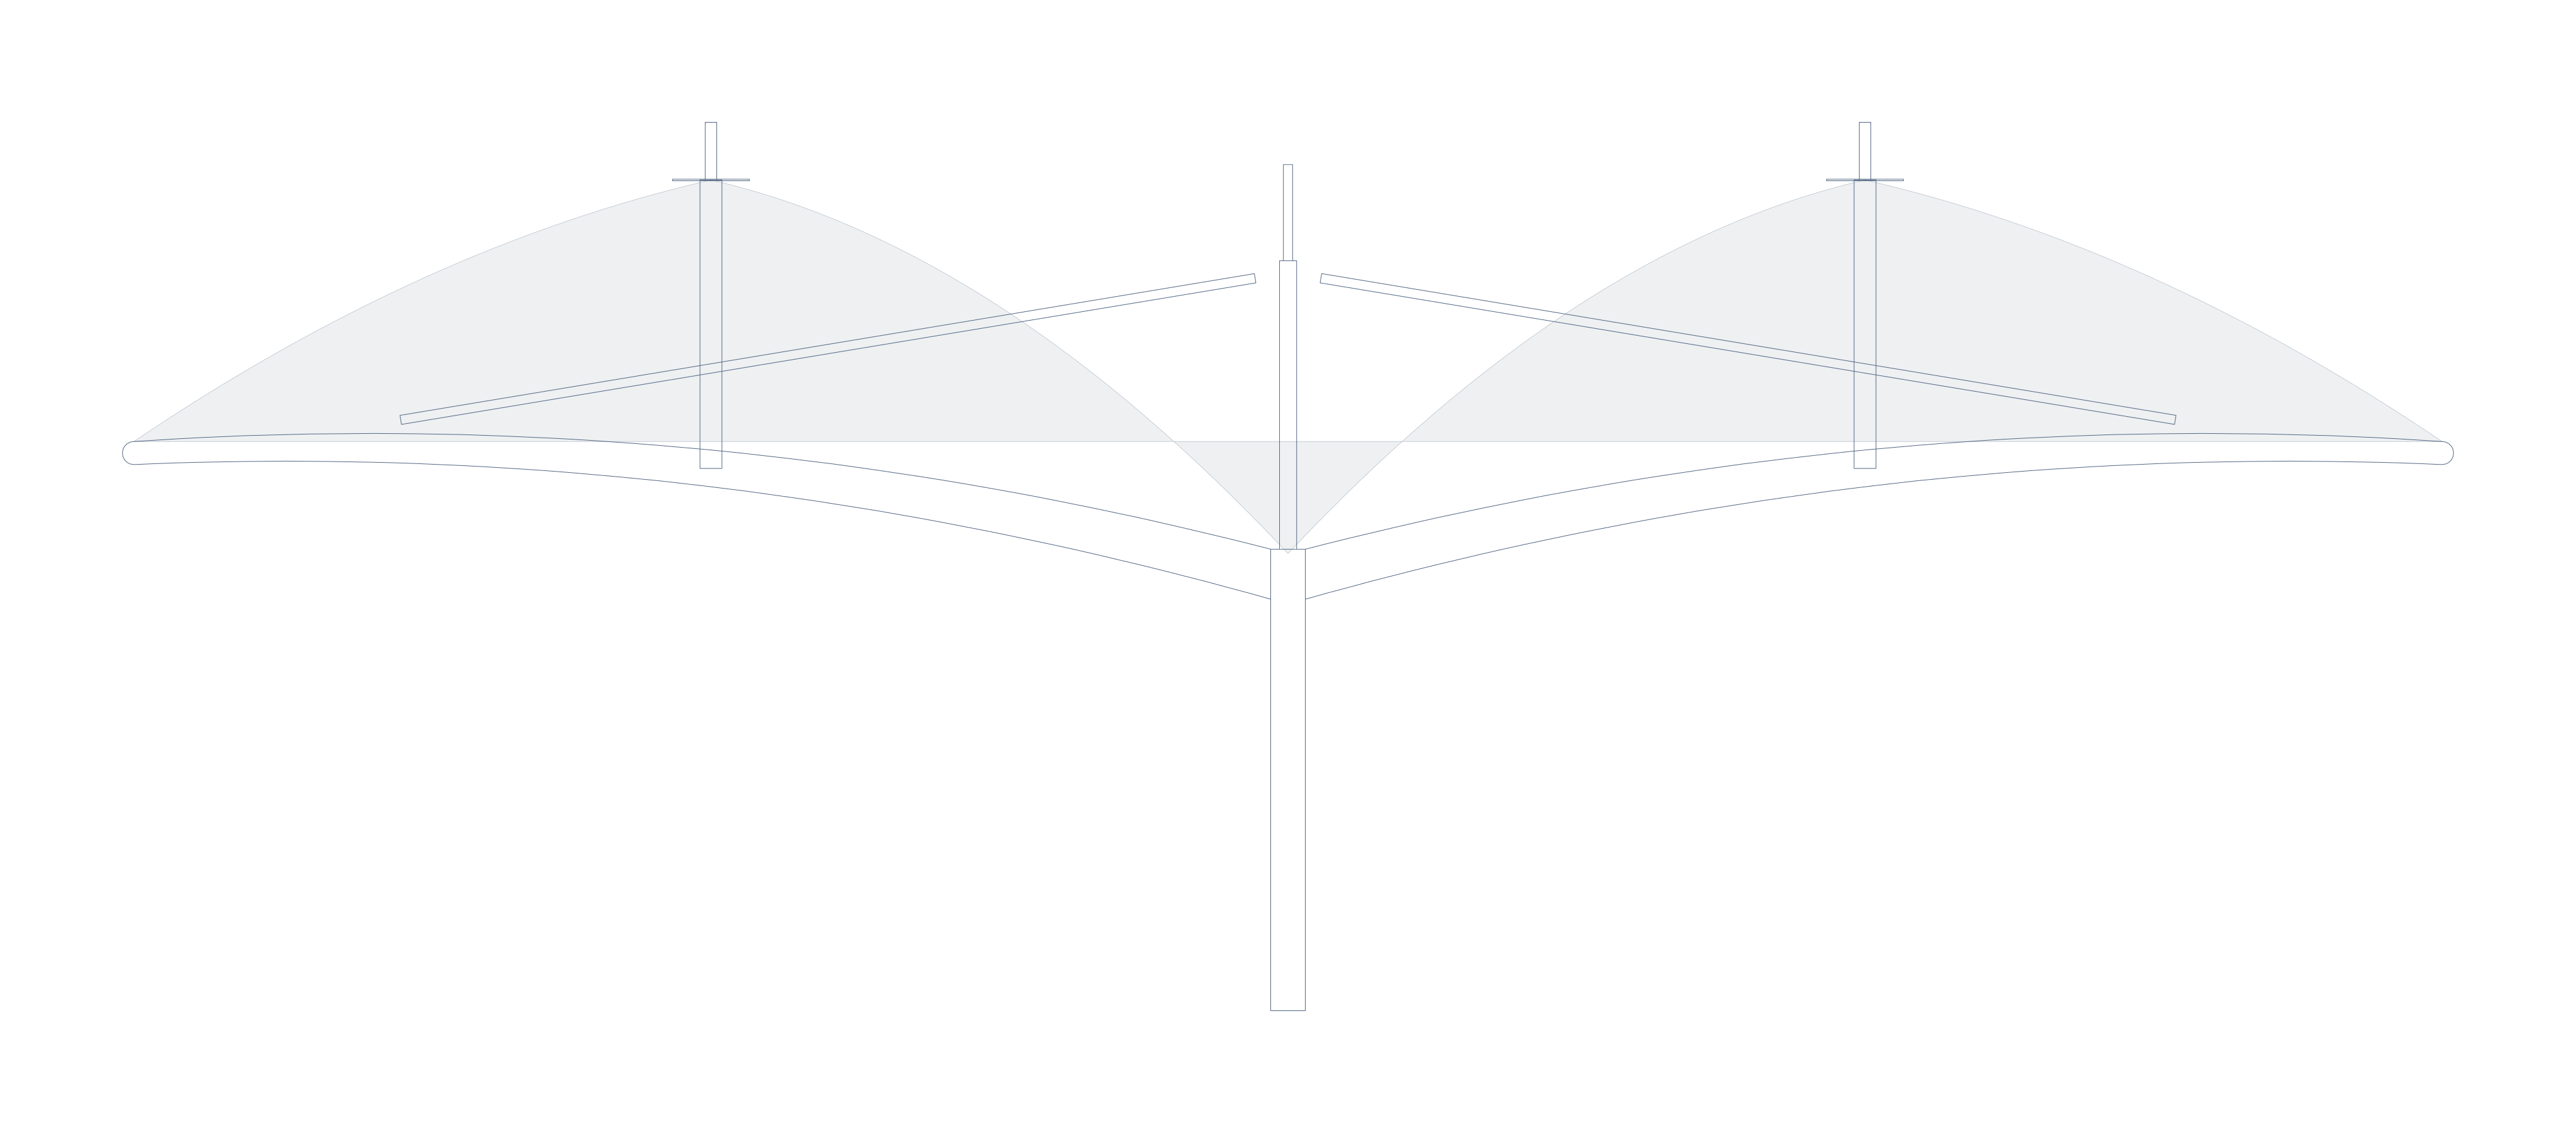
A double-sided roof with raised crowns creates a repeated rhythm over two parking rows.
Curved roofs and continuous cover
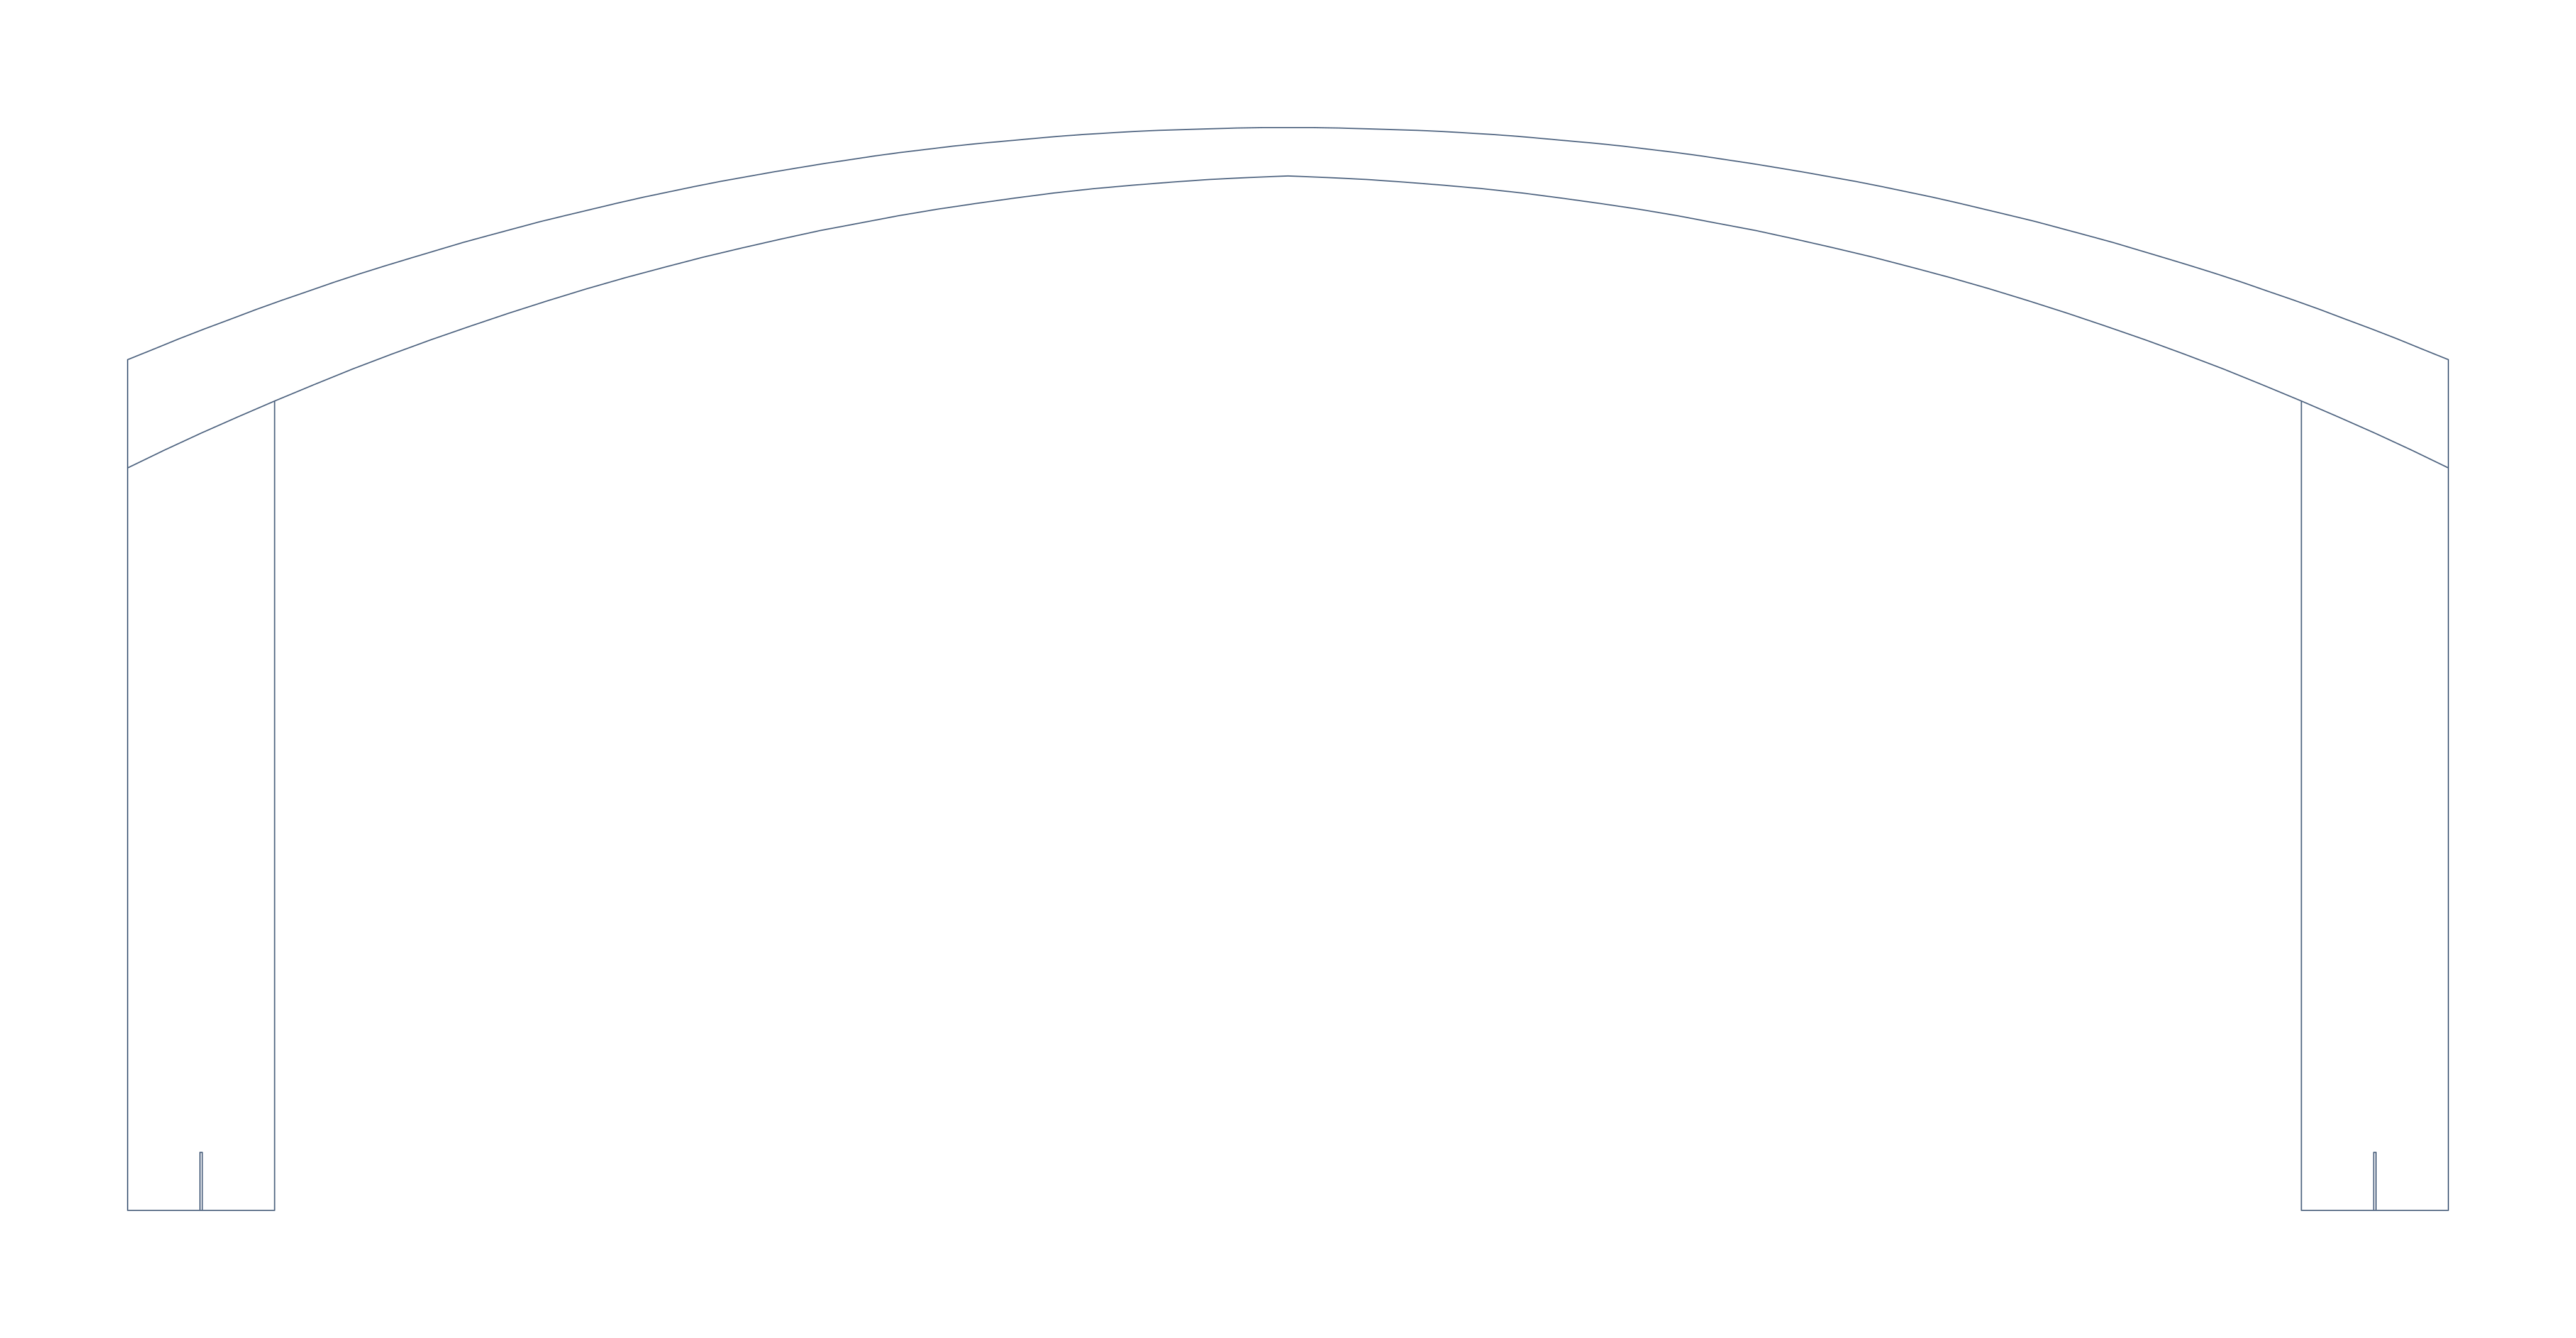
A continuous curved roof offers a softer profile over parking bays.
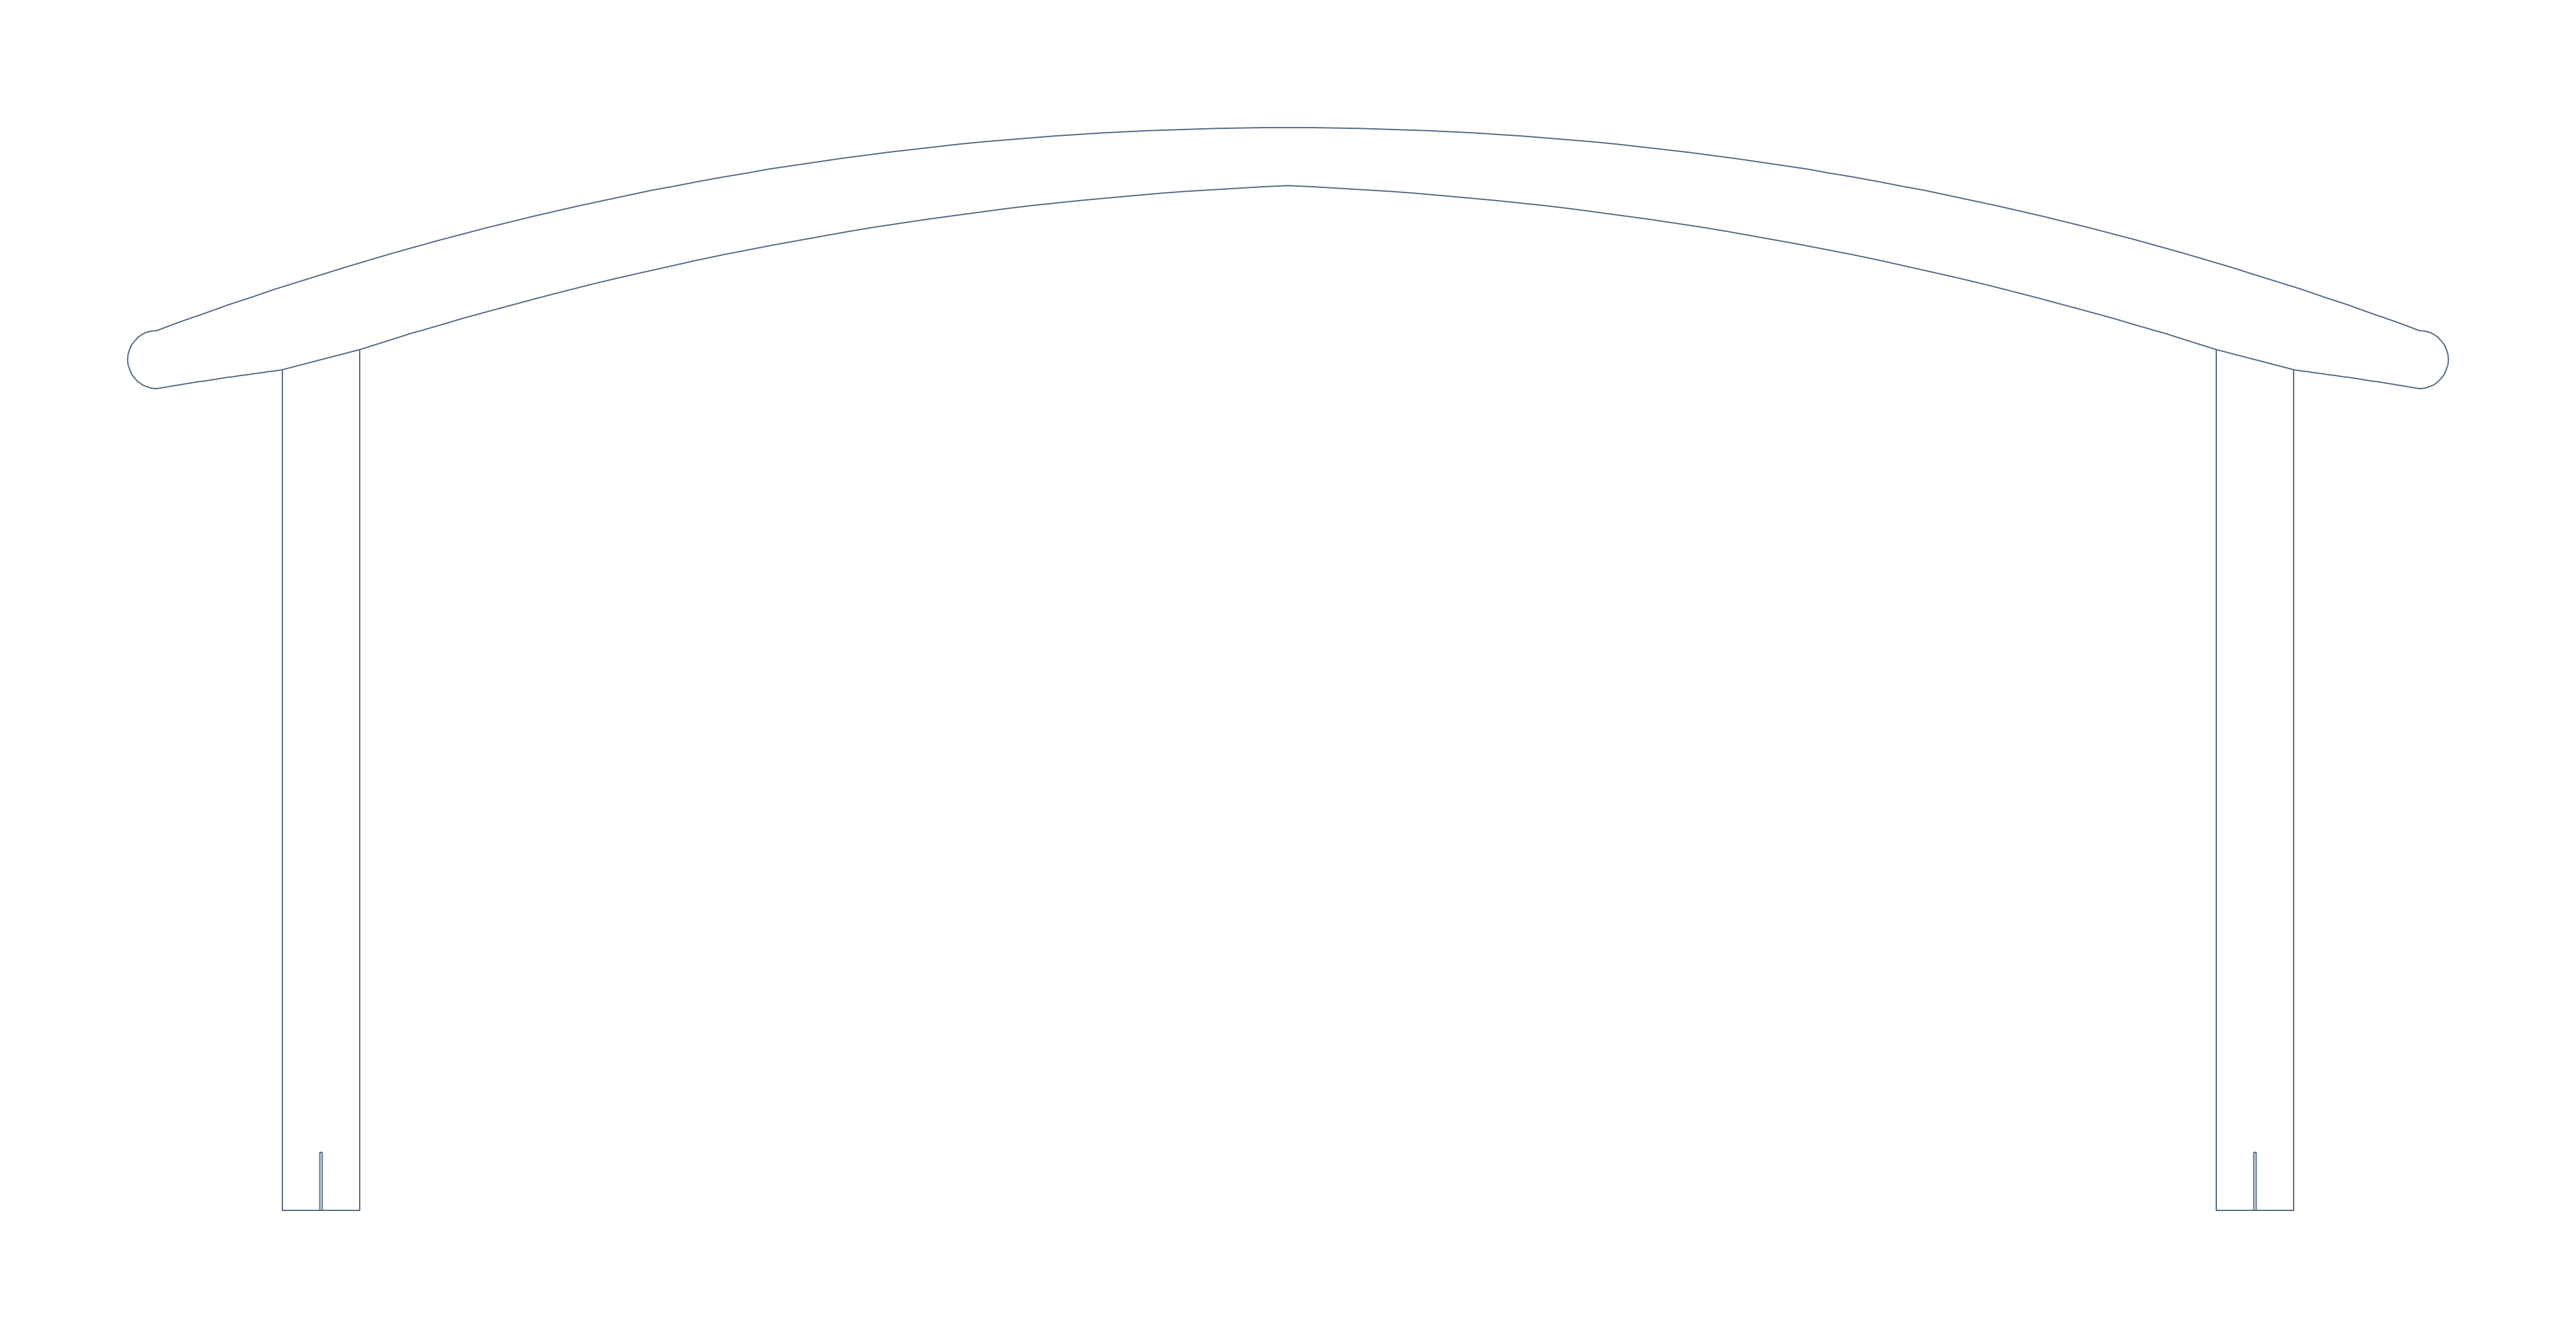
The end columns sit inboard while the arched beam extends beyond them to cover the edges.
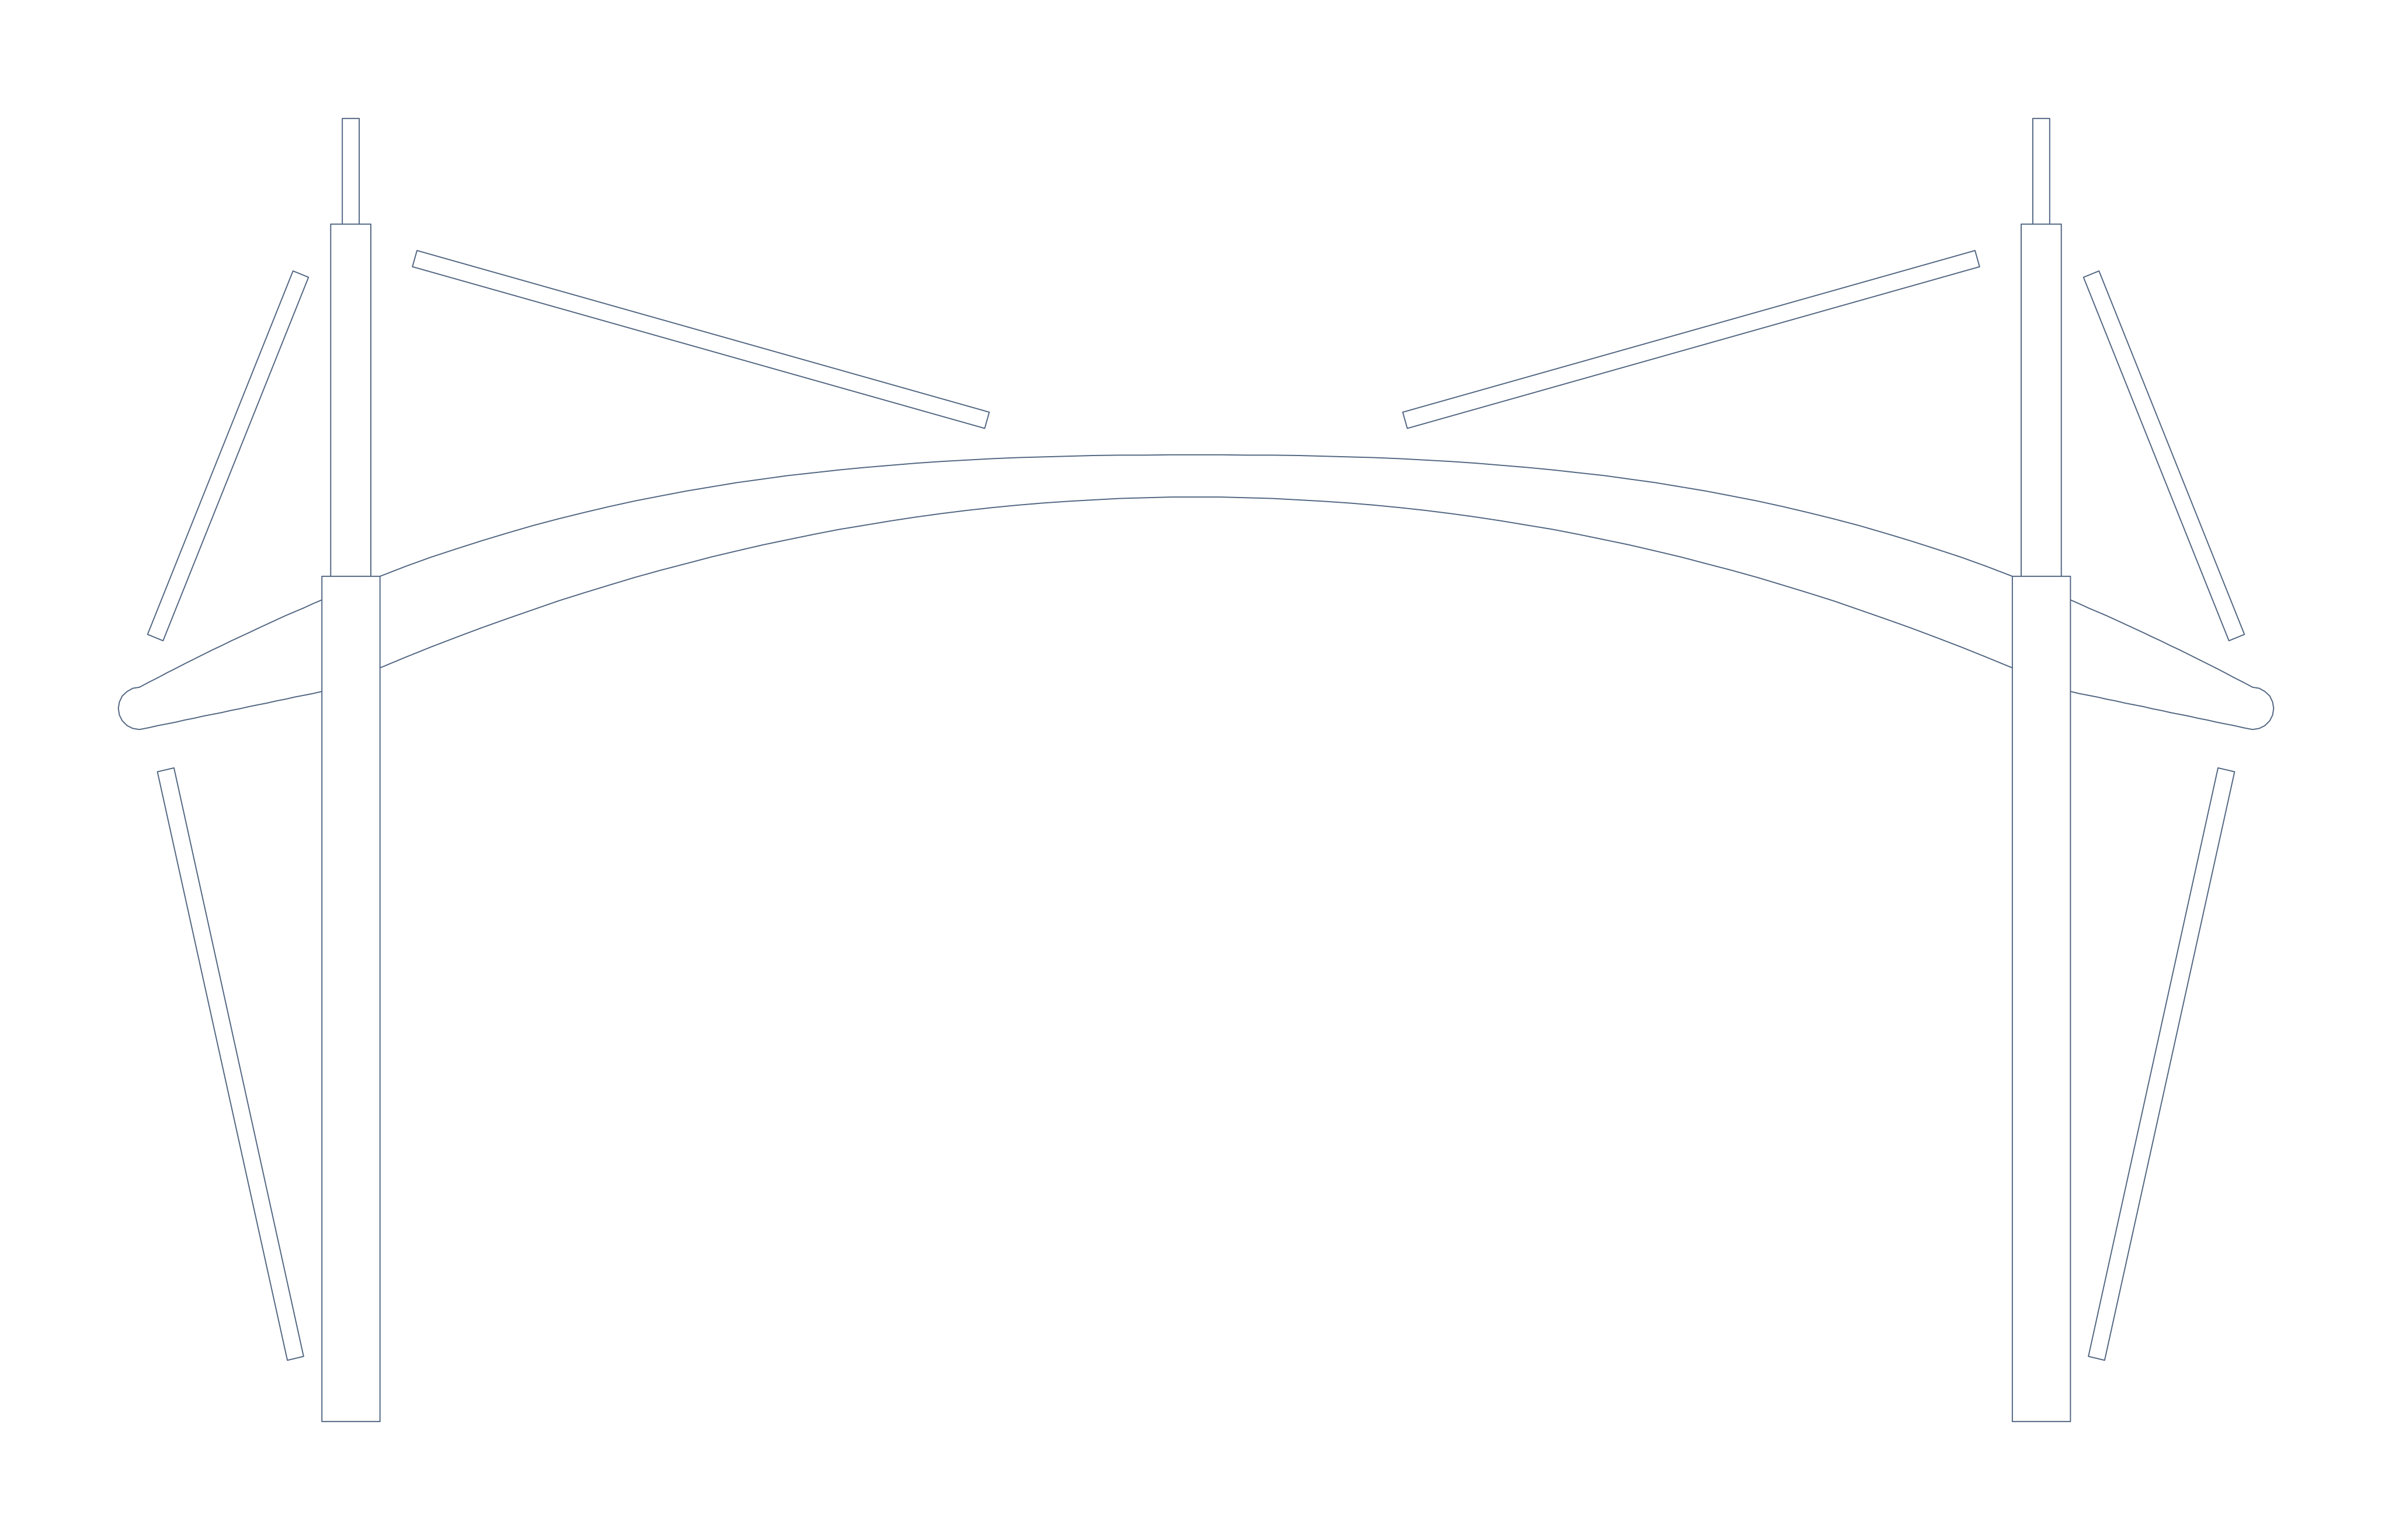
A curved canopy combined with visible rods for projects that value both forms.
SELECTION LOGIC
Mark bays, doors, turning, walking routes and equipment before choosing a roof outline.
A good-looking form still needs usable foundations, impact protection and installation access.
Trace rainwater from roof high points to ground drainage, including neighbouring buildings.
START YOUR PROJECT
Useful first materials for comparing a buildable canopy and an agreed work scope.
CONTINUE EXPLORING