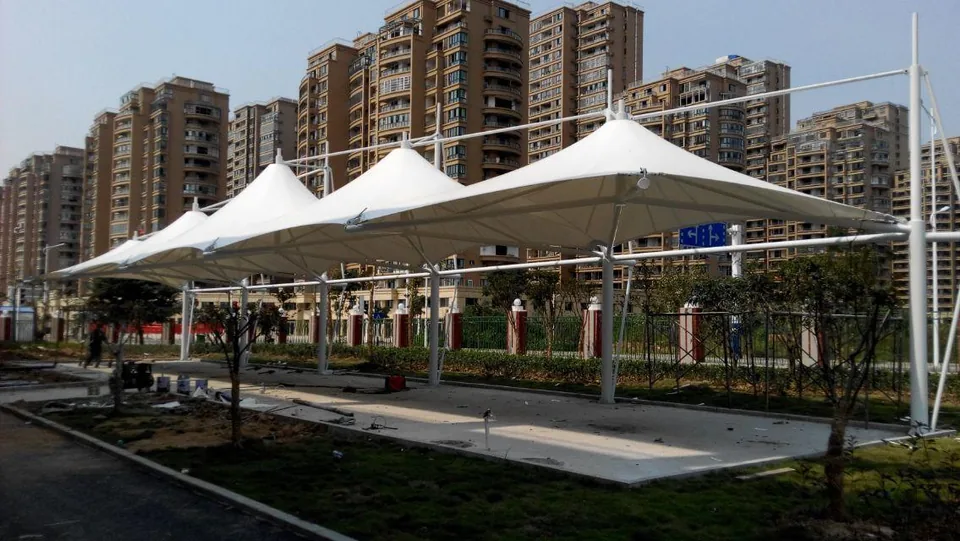
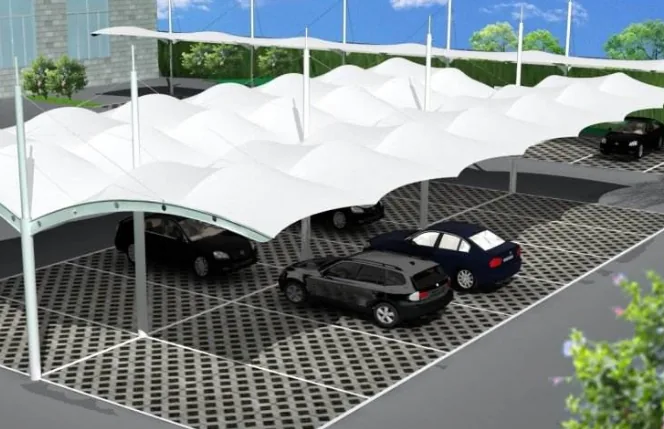
 Membrane carportsClassic membrane shelters→
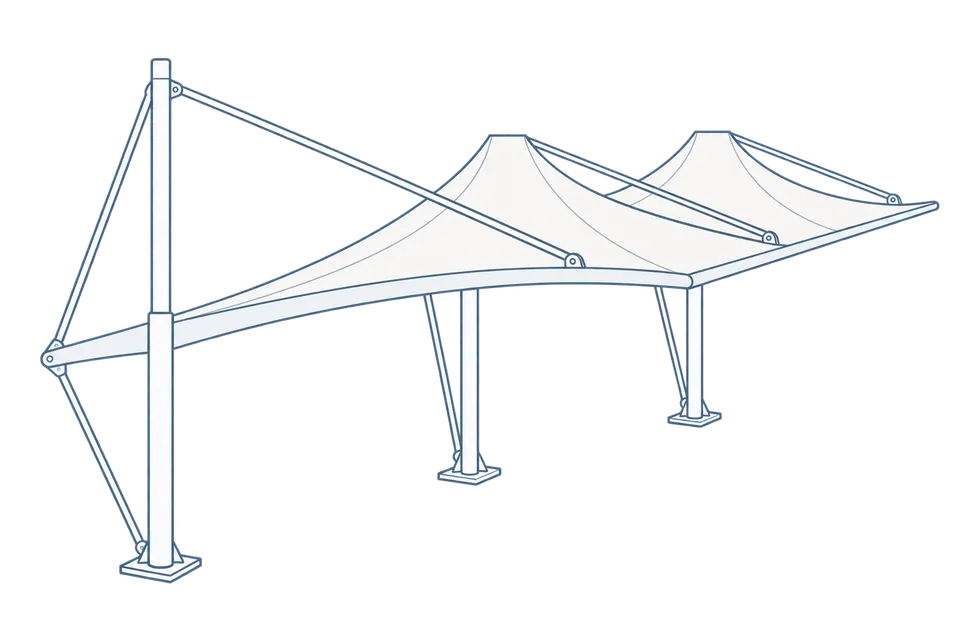 Solar carportsParking meets green energy→
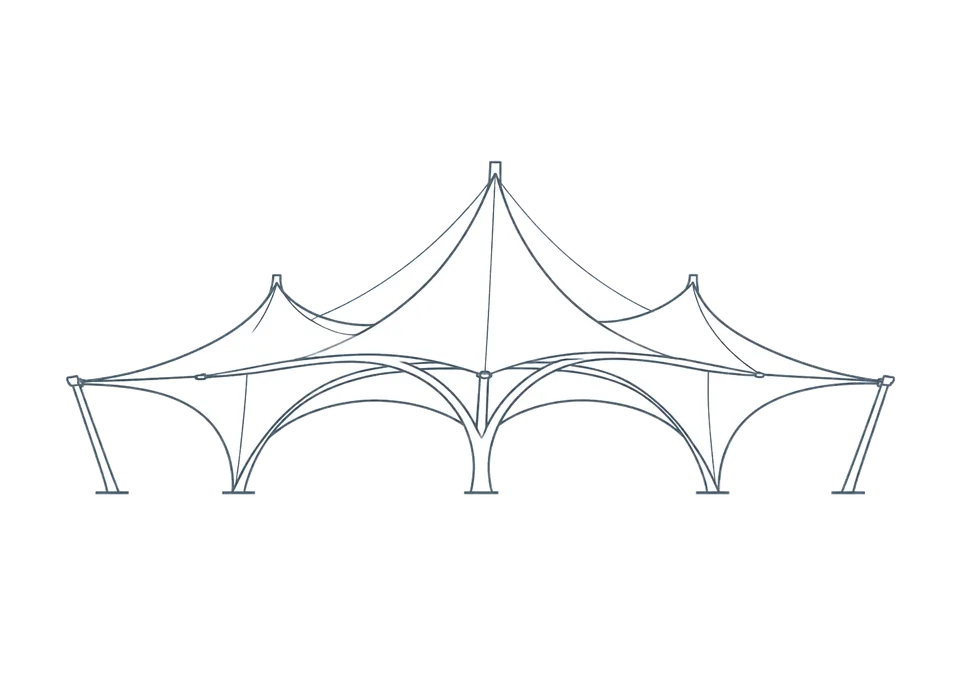 Landscape canopiesParks and leisure spaces→
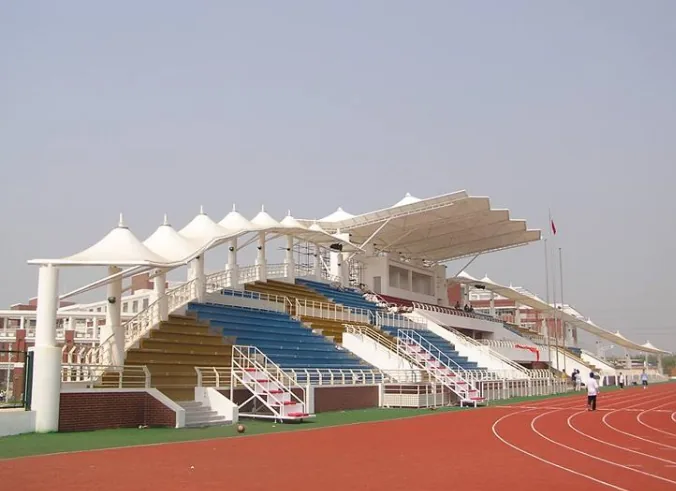
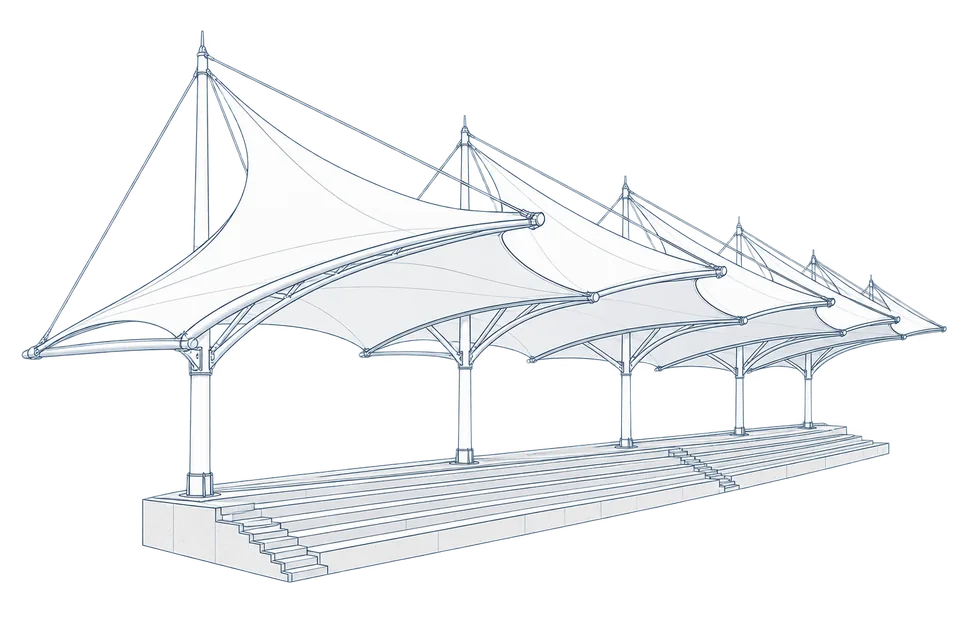 Grandstand canopiesSports venue shelters→
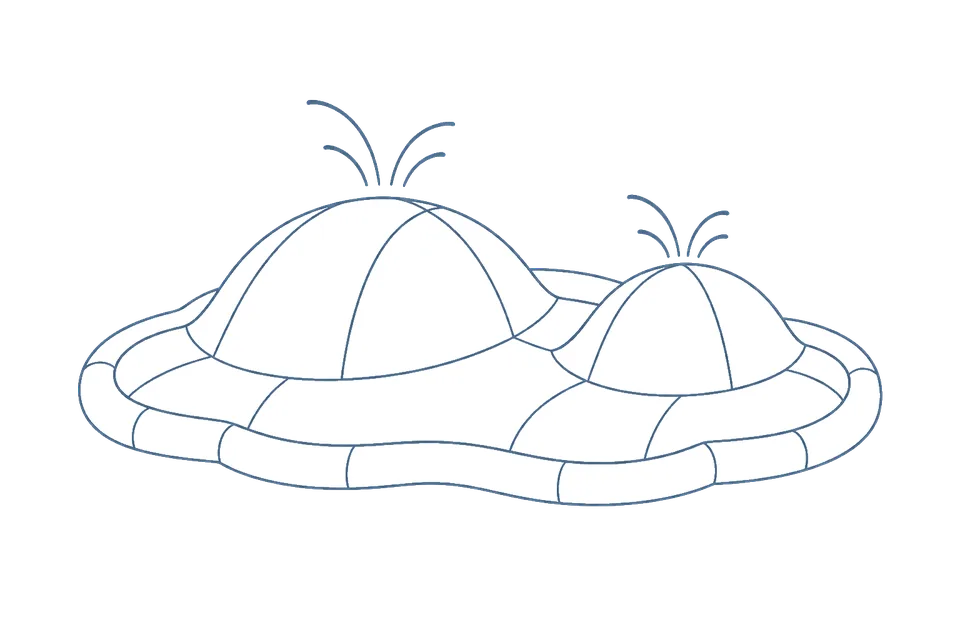 Inflatable play cloudsFamily play areas→
 Wastewater coversEnvironmental infrastructure→
 Fuel station canopiesStation shelters→
 Entrance canopiesWalkways and entrances→
Designing bicycle shelters: parking, access and rain protection
Design bicycle shelters around entry, parking and retrieval. Width, columns and entrances cannot be determined from an appearance drawing alone. Draw the parking area and walking aisles before arranging roof coverage, so bicycles that fit can also be taken out conveniently.
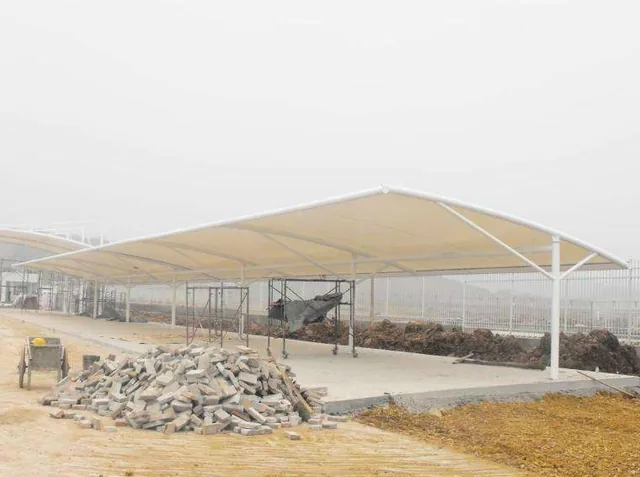
Establish the bicycle types and parking arrangement
Standard bicycles, e-bikes and bicycles with baskets or rear seats occupy different spaces. Specify typical types, racks, single or double rows and peak-time access directions rather than applying motor-vehicle parking logic to two-wheelers.
Coordinate membranes, columns and rainwater
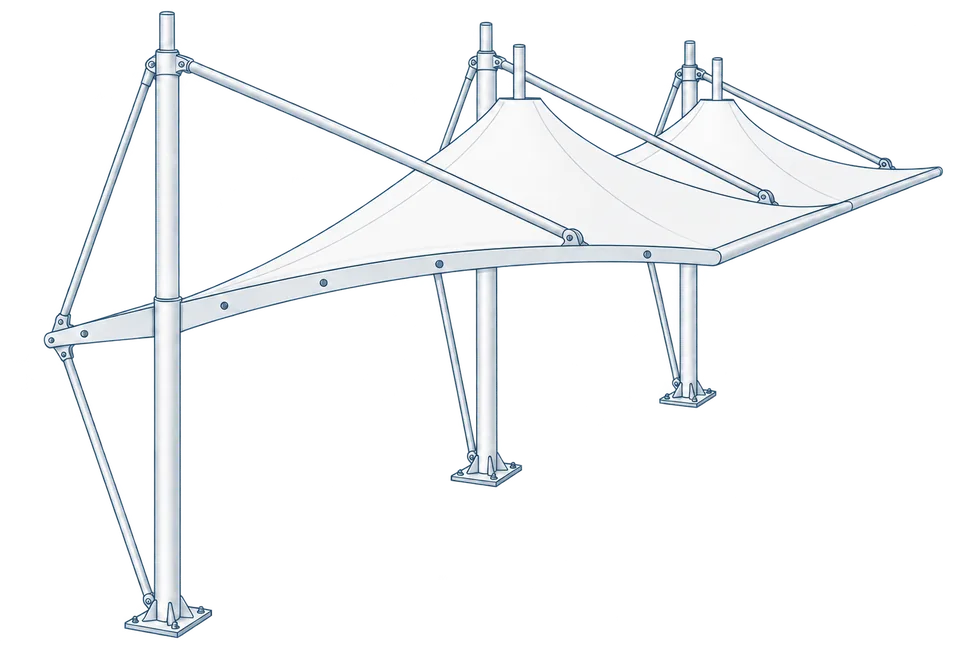
Coordinate columns with parking intervals, access controls and walking aisles. Consider wind-driven edge rain and drip points as well as roof projection. Direct water to a defined ground drainage route, avoiding a curtain of water or pooling at entrances.
Add information for charging facilities
Separately define equipment locations, cable routes, payment and management arrangements, maintenance space and shutdown procedures. The canopy is a covering structure; electrical facilities require design and acceptance by the appropriate specialists. Adding sockets alone does not complete a charging shelter.